1. White gouache is your friend.
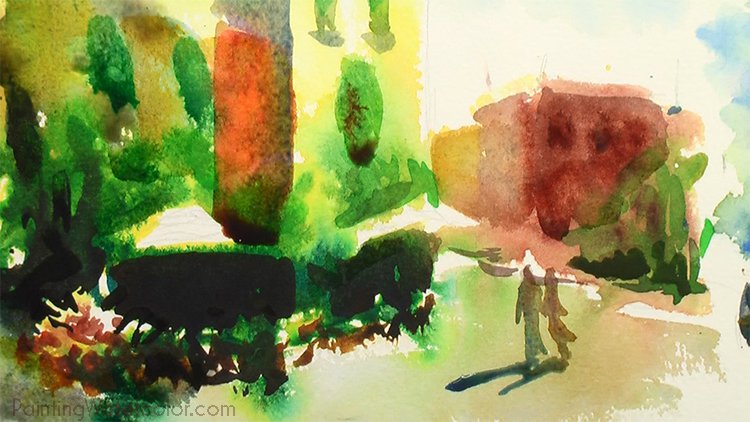
I lost the umbrella edges and the darks are just too dark and heavy.
So many watercolor artists are afraid to use white gouache. There are even entire watercolor societies dedicated to, basically, not using white gouache.
And I agree, nothing can mute a painting quicker than too much gouache in transparent watercolor. But if you stick to using it only when it's needed versus using it for all your whites, white gouache can improve a painting dramatically.
It's so easy to paint over an umbrella edge or a mast in the sky by accident. Most of the time, painting over a small object is the better decision. It makes for a lovely coherent wash and you can always go back in with a touch of gouache. (Or pull the paint out, add a new line or paint another wash around the object. )
Too careful negative painting can make a painting fussy.
3 Rules for Using Gouache:
- 1. Keep gouache off your palette!
Gouache is opaque. You don't want it mixing with your lovely transparent watercolors. I generally use it in the tube, since I use so little of it. If I need to mix it, I'll mix it on my table or as separately in my palette as I can, then clean it up immediately.
- 2. Save it to the end.
Like I said, you don't want gouache mixing where you don't want it to. Any wash you paint on top of gouache will turn opaque. This can be a good thing - as long as you're planning for it!
- 3. Use it sparingly.
A little gouache goes a long way. If you use it all over a painting in gobs, it becomes gimmicky.
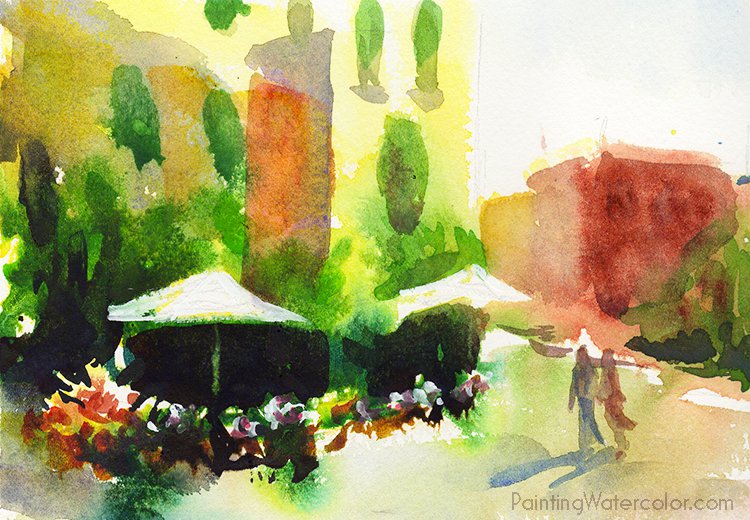
White gouache and pulling out a little color - and adding some more color in the dark flowers makes all the difference!
Dont forget you can mix white gouache with a little pigment to get a pastel opaque version of that color. I used that to get a few pink flowers blooming in the example above. I usually mix to the side of my palette. This can be very helpful for painting on location.
So have fun with your washes! If they go over the edges, either let them be, pull a little paint out or use gouache!
Disclaimer: Jennifer Branch Gallery is a participant in the Amazon Services LLC Associates Program, an affiliate advertising program designed to provide a means for sites to earn advertising fees by advertising and linking to amazon.com. I receive a small rebate for your entire order (starting at 4%) if you choose to purchase through Amazon. Most items can be bought multiple places and I highly recommend local art stores if you have one! Any other recommendation links I receive no compensation for.
These referrals help me support this website, and I thank you for any purchase you make through them. I will never recommend a product I have not used frequently and believe is the best tool for the purpose!
2. Pull out color
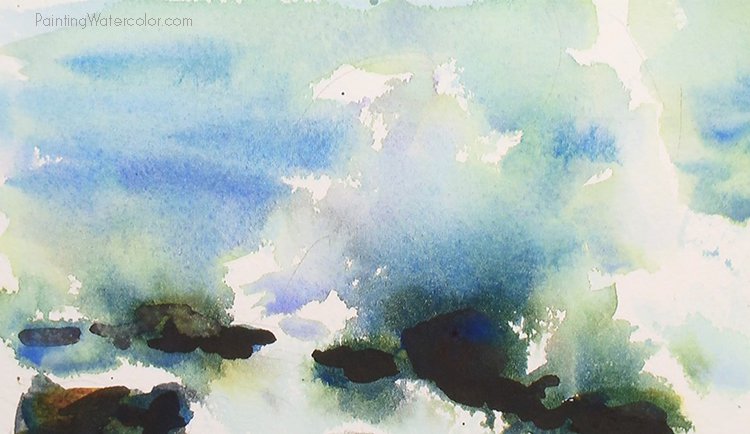
This is a nice start, but I'm not quite there.
Pulling out pigment with a clean rag is one of my favorite techniques. I have to watch that I'm not overusing it!
Paper towels will blot the pigment (what I use on location), but you really need to use cotton rags for scrubbing at the paper. I buy a large pack of white washcloths at Costco once a year for the rags.
Wait until the painting is dry before you start scrubbing at it. It damages less.
Always use clean water!
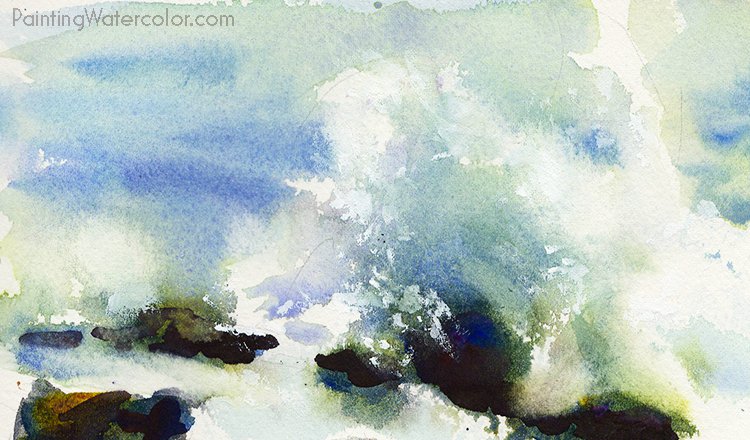
Pulling out some color and adding some white gouache for texture and sparkle.
Pulling out pigment is a technique you want to save to the end of your painting since you destroy the paper by rubbing it. It changes the nap of the paper and removes the top sizing. So any more paint on that section will blur softly and look different from the rest of your painting.
Blotting quickly by pressing down on the paper versus rubbing the paper won't destroy the paper. You can use blotting for texture throughout the painting.
So next time you want to soften an area or create some fog, misty surf or push a horizon back, try scrubbing at the paper!
3. Pull it together with a wash!
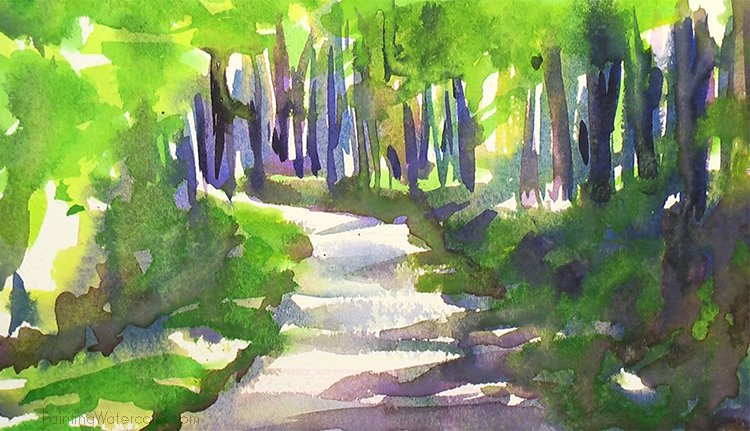
See how disjointed this scene is?
Everything in the sketch is separate. I do have clear directional lines pointing me into the painting (that's why roads are so fun to paint), but I don't have a clear value pattern. The painting simply doesn't flow smoothly.
The easiest way to make a painting flow together is to paint a wash over some of the darks, pulling the value pattern together. If the darks are connected with one pigment throughout - and flow together in most places - then the painting looks like more than its separate parts.
When you're using a wash to connect isolated parts of a painting, try to stick with a single pigment. The reason to paint the shadows intead of the lights is simply to avoid mud by overpainting your lights. I've broken both rules and had it work, so these are just guidelines!
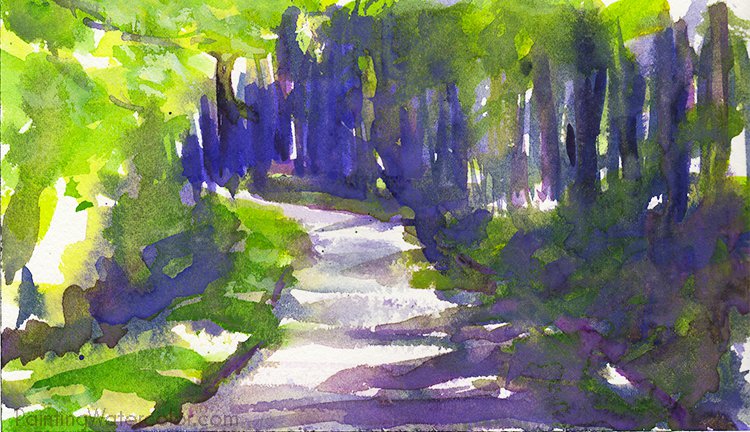
Pull it together with a wash and add some lines pointing where you want your viewer's eyes to go.
- 1. Use a single pigment to connect parts of your painting.
- 2. Try connecting your shadows first.
4. Distracting Lines
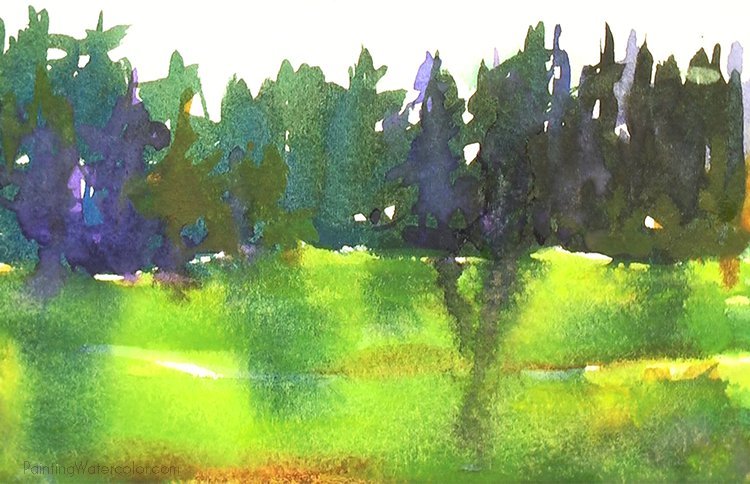
A bunch of horizontal lines don't pull me into the picture. I need a path!
A scene like this is pretty typical. A field, a saltmarsh, a beach. They're all broken into 2 or 3 horizontal bands of color and value across the painting. So when you paint a scene like this, you need to connect those bands. Otherwise, you just have a horizontally striped painting.
My first move is to let the trees bleed into the grasses, connecting them. That does give me a immediate falling out of the painting feeling, but it's just a start.
Next, I break up the horizontal bands with lines pointing to where I want my viewer's eyes to go. I want you to enter the sketch, meandering down a path. So I draw that path.
Finally, I pull out some color at the top of the trees. This softens the harsh lines and redirects attention to the line between the trees and the grass.
So I've basically drawn my viewer a path to follow! See how much more inviting the sketch is?
"Watercolor is making the most of an emergency."
John Singer Sargent
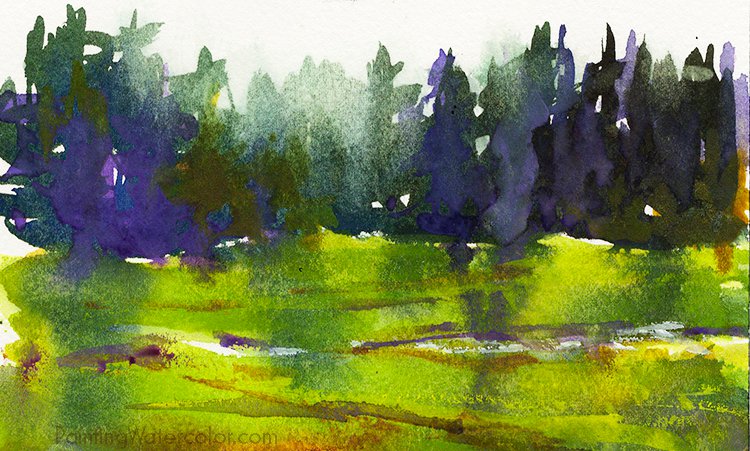
A few lines and blurring the background make all the difference!
5. Blur Detail
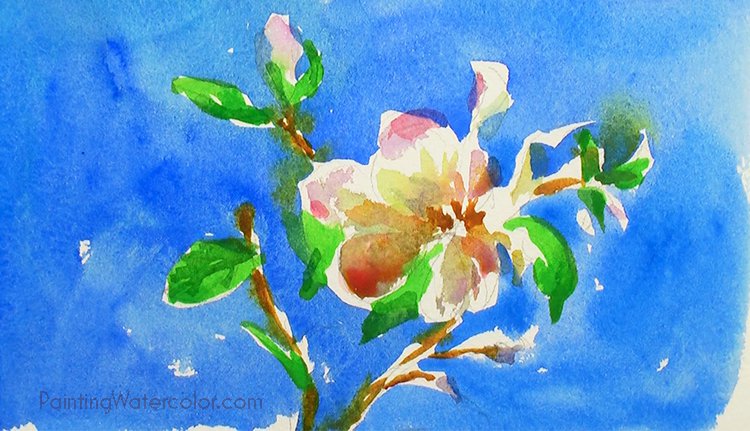
The sketch is too crisp everywhere. All the painting is equally sharply defined.
Sometimes a painting is just too sharply defined. Everything from the center of interest to the background shadows has the same prominence.
The easiest way to blur details is simply by pulling out a little paint, as I did in the example. But pulling out pigment is definitely not the only way to handle this. One of my favorite ways to blur irrelevant details is with a wash over the area. Sometimes it's just a clean water wash, but it blurs things just enough to redirect the viewer's attention.
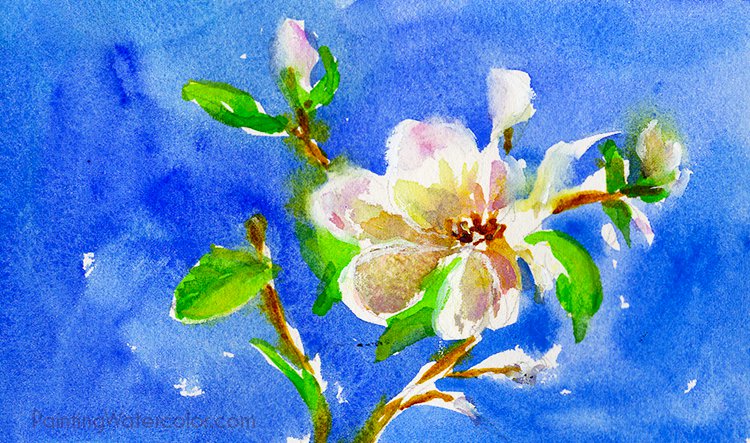
Blurring details and some white gouache pulls it together!
Blurring everything but the center of interest is an easy way to get attention where you want it. However, if it can be done subtly, rather than look like a vaseline smeared lens from the 1980's, it's better!
The key to having all the watercolor mistake fixing solutions work is using them subtly. Make them work together and use what's appropriate for the painting you're working on.
For example, if you're working on an ocean where the gorgeous translucency of the water is the focus, you don't want to use gouache. You'd want to try pulling out paint or redirecting lines.
If you're painting a sky that has a lovely contrast between a translucent gold of the sunset and gray opaque clouds skittering on top, white gouache is your best friend. It all depends on the painting!
There's a reason why I used more than one mistake fix in each video example. They need each other. If you pull out pigment, you need some redirecting lines. If you try a dab of gouache, it's often better to pull out some pigment for the translucent / opaque play. If you try a bold wash, you might need gouache to reclaim a light or a redirecting line to move attention. These fixes work together the best.
I hope these watercolor fixes inspire you to take some chances with your paintings. Play around, dare to risk it all - and know if something doesn't work, you can usually recover from it!
Homework!
How to Fix a Painting:
Next time you "ruin" a painting, try these out! (I've pulled some of my best work out of "ruined" paintings, so it's always worth a try!
1. Pull out anything too dark and heavy.
Let this dry completely!
2. Soften distracting details.
Let this dry completely!
3. Paint a connecting wash with shadows, then try midtones.
Leave some holes on this wash.
Let this dry completely!
4. Try lines pointing the viewer into your center of interest.
5. Use some gouache for opaque highlights or to reclaim detail.
I think you'll be amazed at how your "ruined" painting improved. Now that you've played with it, either call it a winner or understand how to make it better next time you paint it!
All Paintings, Images, Videos, Text and Website Design Copyright 2022 by Jennifer Branch.
All Rights Reserved.
No Image, Video, Text or Website Design may be used without my written, specific permission.


