One Point Perspective Drawings
Watercolor Painting Lesson
by Jennifer Branch

One point perspective drawing is all you need to draw this live oak drive painting by Jennifer Branch!
Painting Lesson Level
BeginnerSkill Building
Drawing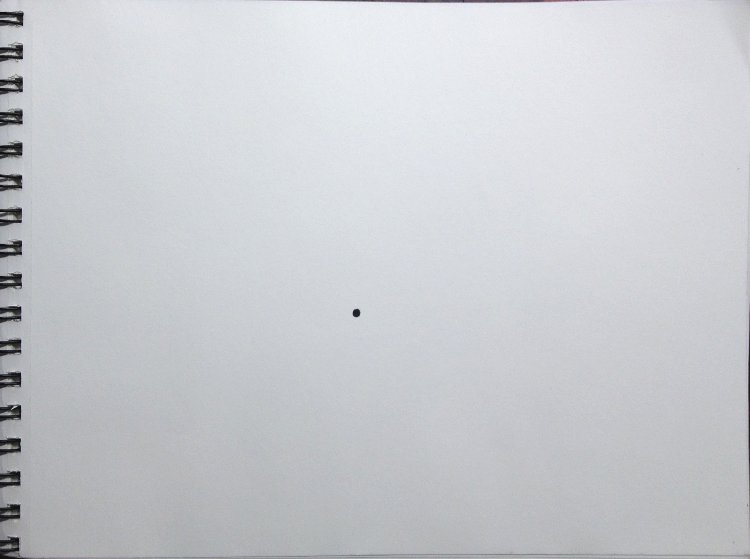
One point perspective starts with a simple dot. That's it. If your horizon is low since you're standing on a building, place the dot low. If your horizon is high because you're lying down, place it high.
I'm going to start with the classic looking down the street example, Main Street, Nowhereville.
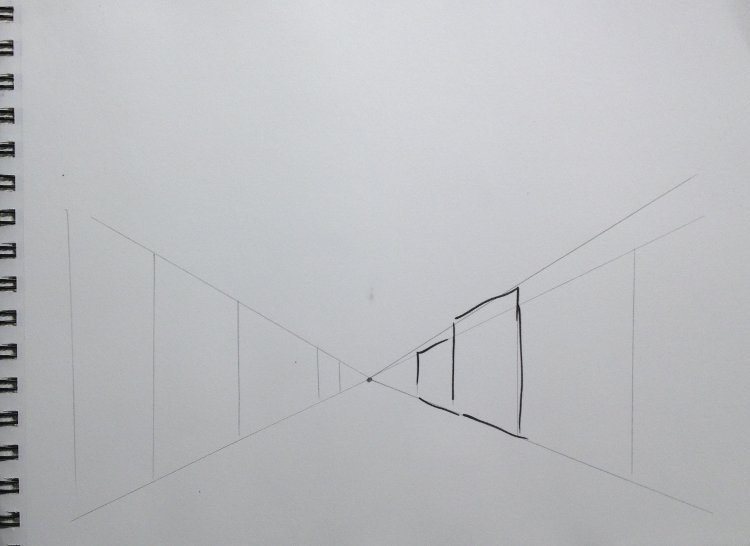
This point is called your vanishing point. It's the point where you can't see any more and everything disappears into the horizon.
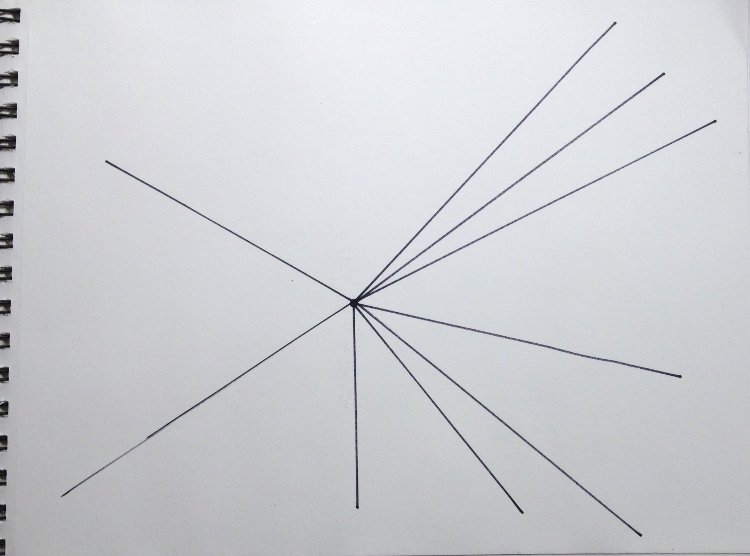
Now draw some lines radiating out from your dot. The only rule is the lines must all connect to that little dot. That's it.
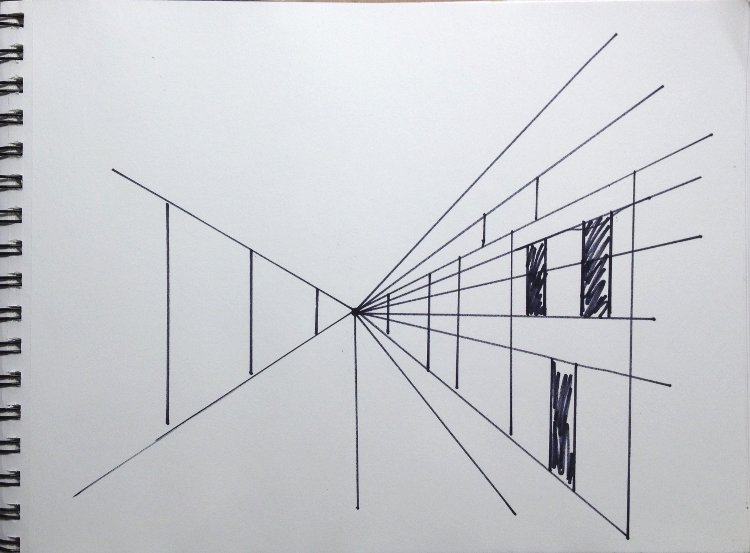
Connect some of the lines by drawing perpendicular lines where there might be buildings. If you have trouble drawing a straight perpendicular line, buy a T-square or a triangle. I usually keep a small triangle handy for drawing buildings. If the underlying drawing is precise, your brushstrokes can skim over it and loosen it up!
Notice how I have no question where my windows start or the top of the doorway is.
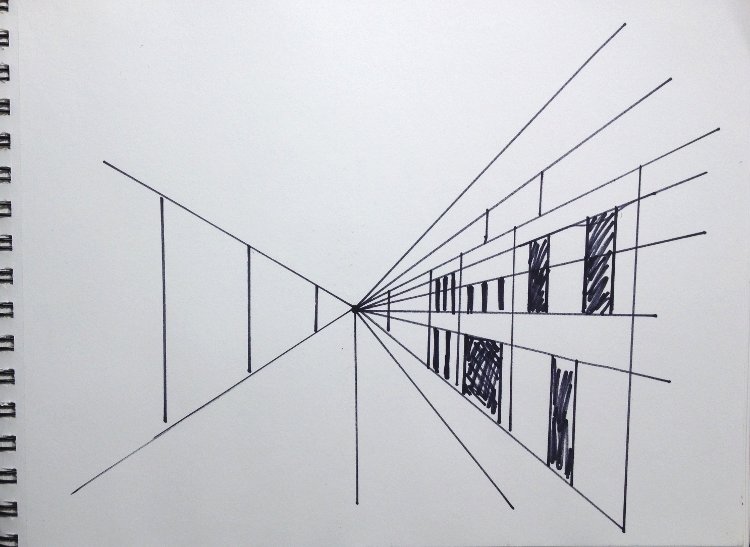
Here's where we really start to see one point perspective. The vertical heights recede sharply as they get further away from us. Place your perpendicular lines a bit closer together in each section as they get farther away too.
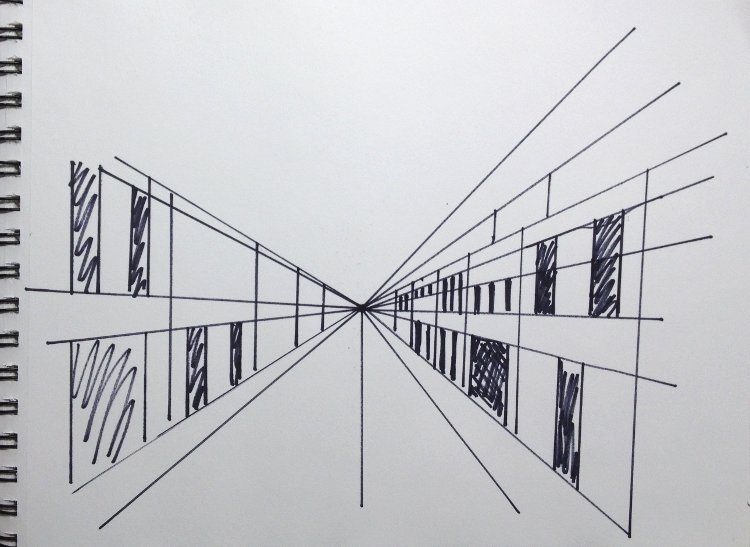
Now here's the other side of Main Street. We're really starting to feel the depth in the street. But the street is still floating in the air.
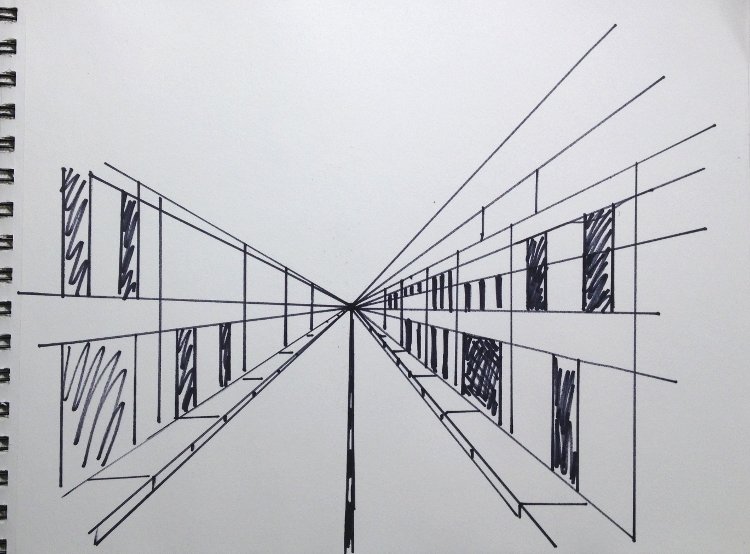
Horizontal lines are your friend when you want to make the ground lie flat where it belongs! A few dashes of sidewalk lines make the street start looking like a street.
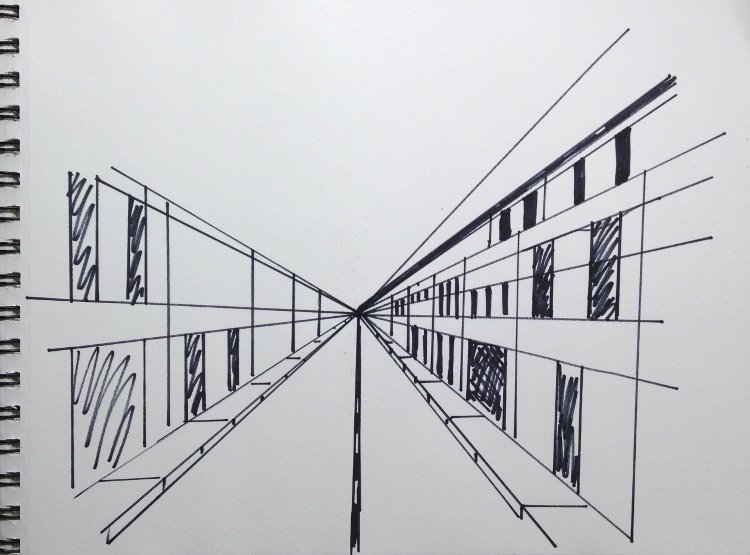
Some little windows up top start to give shape to the street. Notice how sharply angled their top is. Just follow the lines down to that point and it will be never be off!
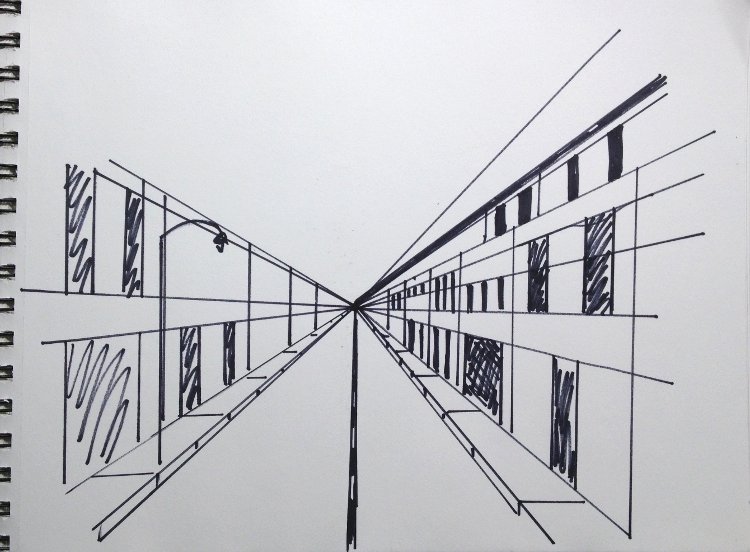
But what if we want to add something like a streetlight that's on a slightly different plane than the buildings? Easy, you draw one to the right size...
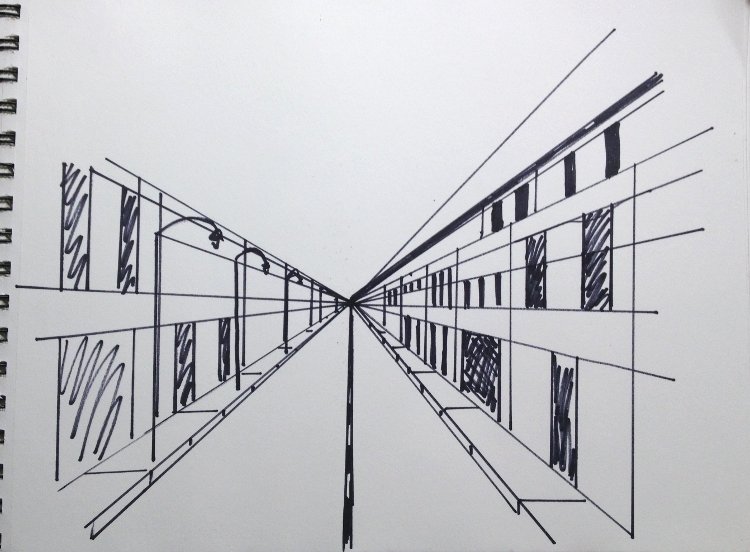
Then you just follow your lines down the street, remembering to addthem closer and closer together as you head farther away.
And that's it! That's basic one point perspective!
Disclaimer: Jennifer Branch Gallery is a participant in the Amazon Services LLC Associates Program, an affiliate advertising program designed to provide a means for sites to earn advertising fees by advertising and linking to amazon.com. I receive a small rebate for your entire order (starting at 4%) if you choose to purchase through Amazon. Most items can be bought multiple places and I highly recommend local art stores if you have one! Any other recommendation links I receive no compensation for.
These referrals help me support this website, and I thank you for any purchase you make through them. I will never recommend a product I have not used frequently and believe is the best tool for the purpose!
Let's add a bit of color to the basic idea. I've lowered the vanishing point a little so we're now standing a bit taller.
Notice we're still working with a flat plane on either side and a flat plane of the street.
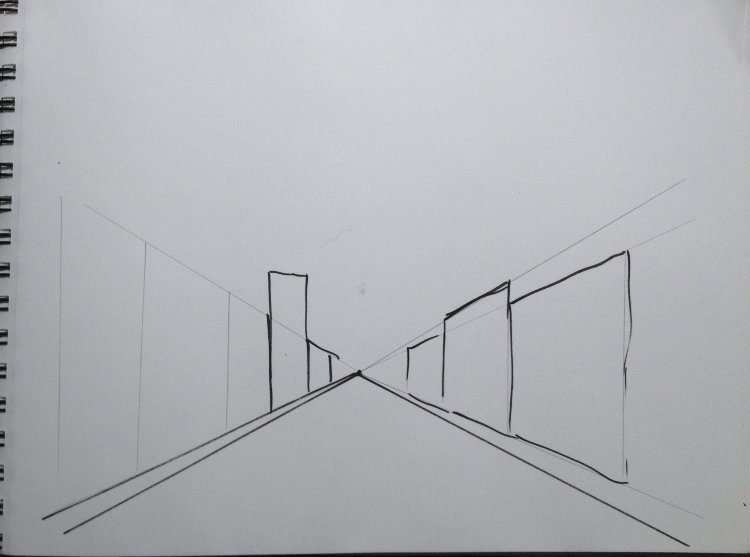
A few different shapes and sizes – and oops, I messed up on the left side. That almost horizontal line doesn't go towards my vanishing point.
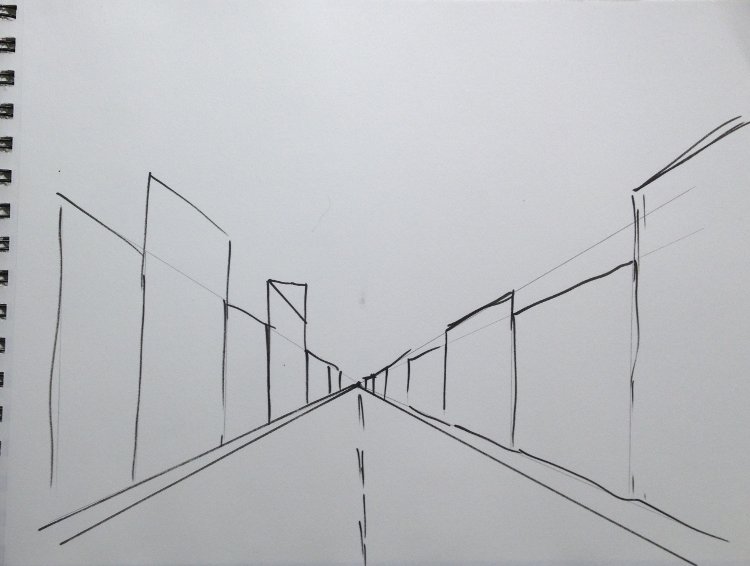
OK, see how correcting that line makes it start to work again. One little line not pointing to your vanishing point can throw off a painting.
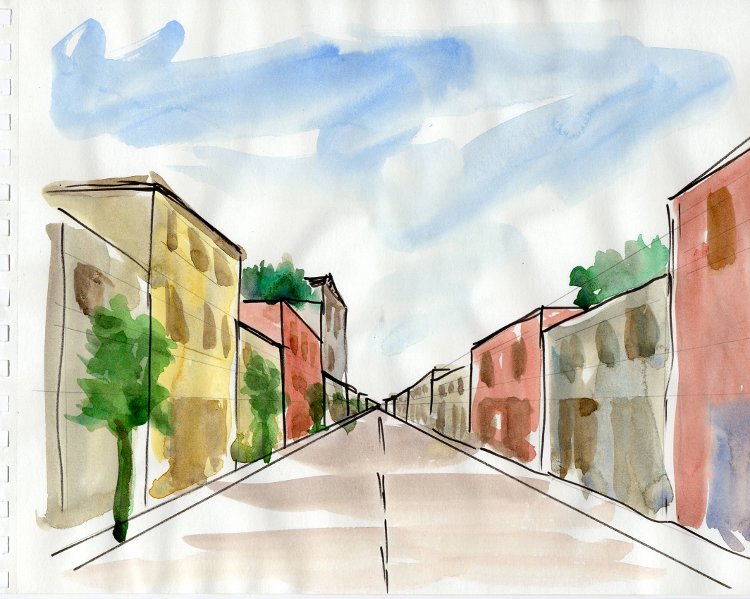
So I add a bit of greenery. Nowhereville planted some trees along Main Street and you know how tall they grow (since of course they planted matching oaks) by following that line down the street.
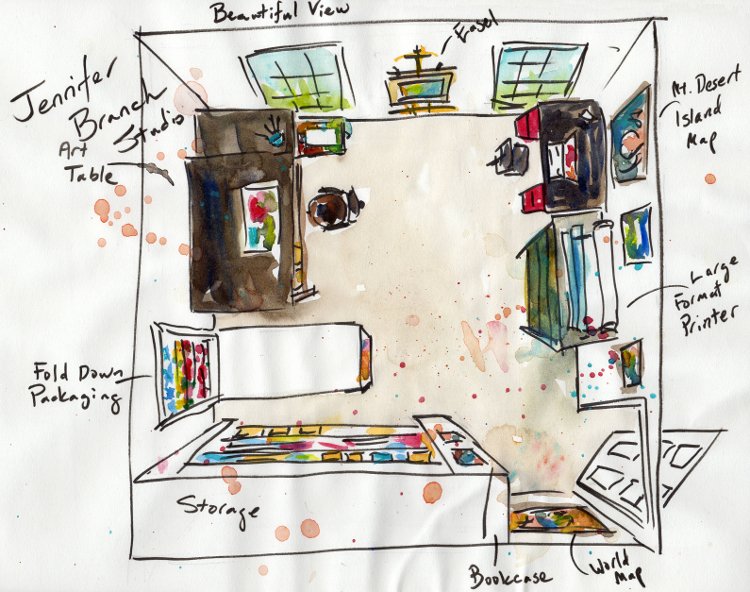
An aerial view of a recent studio renovation. Aerial View One Point Perspective
So let's have some real fun with the next one. Let's pretend you're redecorating a room and can't decide whether to keep or toss a rug with the new wall color.
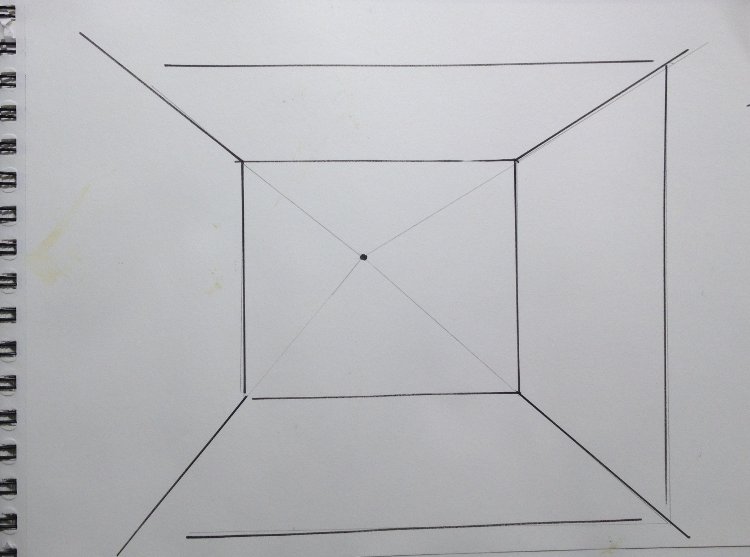
Draw a box for the room of the floor. Pick a vanishing point in that floor area. It's much more interesting if the vanishing point isn't in the exact center.
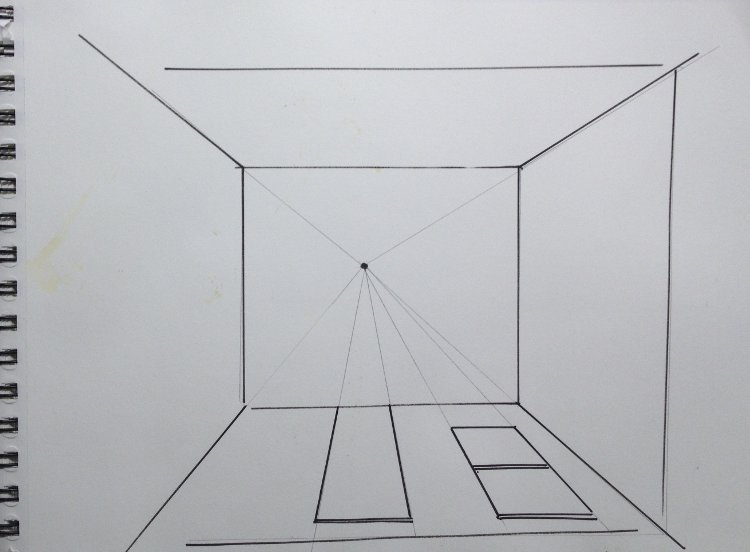
Add a door and a window. Just trust the vanishing point and draw lines where they point to.
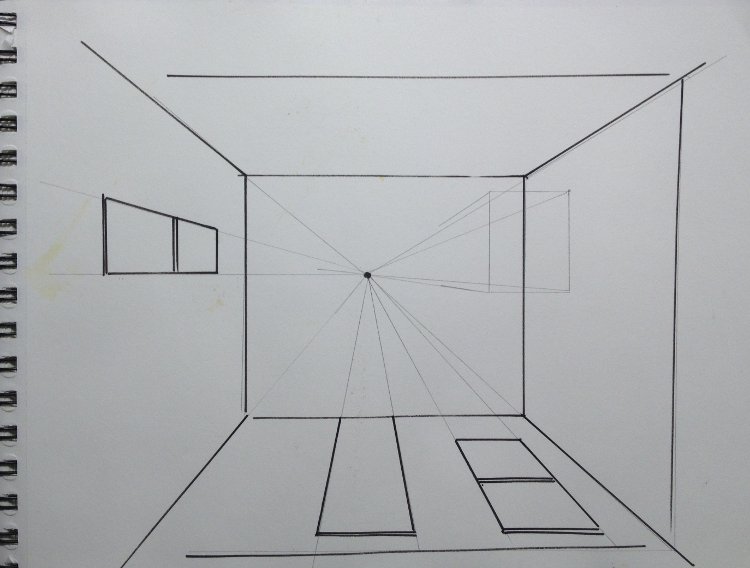
Another window, with the top measurement in line with the other window.
I've sketched in a desk on the right. Since I've penciled in the 2 back legs, I know they don't show up from this point of view, so I don't draw them in, just the front legs.
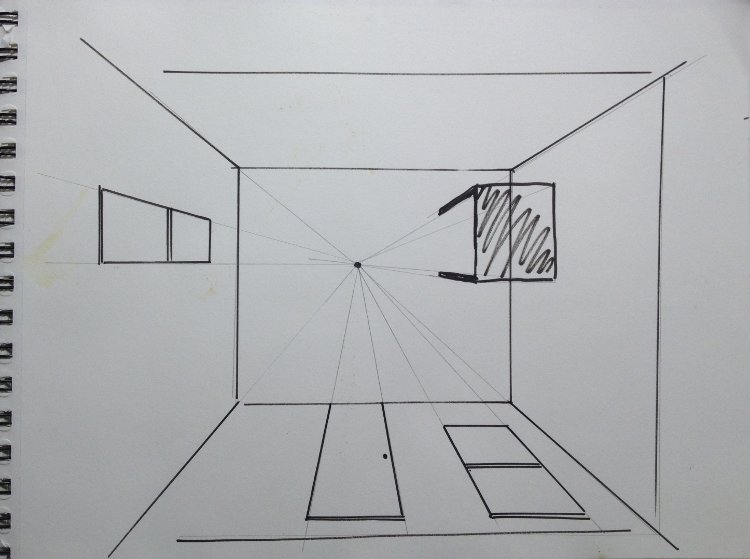
All the desk needs.
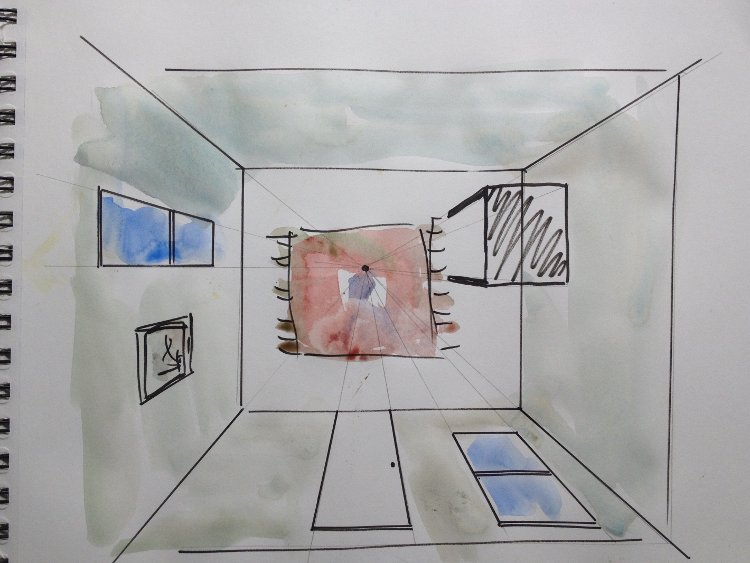
Now it's time to decide on room colors and that rug!
My recommendation is to practice the first sketch a few times until you can do it with the vanishing point anywhere on the paper. Then go out and find a long street to sketch!


