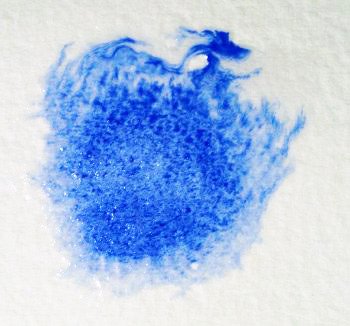
Wet into Wet Wash
Wet your paper, then lightly touch wet paint onto the wet paper. Completely saturate the paper with clean water then gently drop wet paint into it. Don't overwork it!
A wet on wet watercolor wash blurs and flows all over the wet area. Wet / wet washes create interesting backwash effects if the paint or water is uneven. This can be great texture!
Examples on Arches 140# Rough Paper
Wet on wet wash is usually used as an initial wash over the entire painting or as a wash in a discrete area of the painting. It's difficult to control but has lovely affects of flowing color. I highly recommend using a maximum of 3 pigments (not paint colors, but pigments) in a wet wash. More than 3 pigments can get very muddy quickly!
If you run into trouble and it starts looking muddy, step away and let it dry completely. Sometimes it dries better than it looks wet! If it doesn't recover, try a pale smooth wash over the entire wash area. Think a translucent color like quinacridone gold if you're painting a warm wash or very thin ultramarine blue if it's a cool area.
Wet on wet washes can be painted well on any type of paper, from smooth bristol board to rough press paper. However, they will look very different on different textures of paper. Very inexpensive, poorly sized paper will sometimes look blotchy. Clay coated paper, such as Moleskine's Watercolour Journal, will show each stroke clearly. Neither of these are impossible to deal with, but practice on a scrap of paper before you start your masterpiece!
Some examples of good times to use a wet into wet watercolor wash are smoothly graduated skies or water. Or if you're painting a foggy day with very gray light, an overall smooth wash will set the mood.
Artist's Tips
Wet on wet turns muddy quickly. Hit it with a maximum of 3 pigments, then leave it until it dries.
Wet into wet wash is much better on a tilted paper - gravity helps the paint flow!
Disclaimer: Jennifer Branch Gallery is a participant in the Amazon Services LLC Associates Program, an affiliate advertising program designed to provide a means for sites to earn advertising fees by advertising and linking to amazon.com. I receive a small rebate for your entire order (starting at 4%) if you choose to purchase through Amazon. Most items can be bought multiple places and I highly recommend local art stores if you have one! Any other recommendation links I receive no compensation for.
These referrals help me support this website, and I thank you for any purchase you make through them. I will never recommend a product I have not used frequently and believe is the best tool for the purpose!
Wet into Dry Wash
Wet your brush and paint, don't wet your paper first.

Wet Paint on Dry Paper
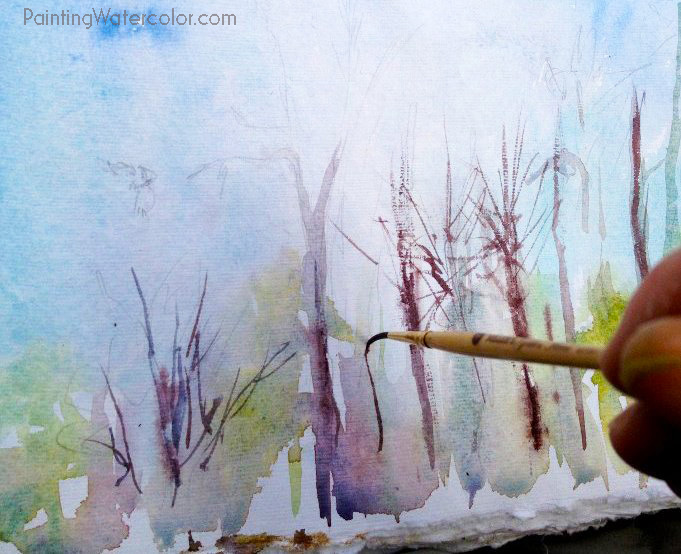
Wet paint onto dry paper is the wash I tend to use the most. A wet brush on dry paper allows the paint to flow randomly but in a defined area. You have complete control of everything the paint does. There's still room for happy accidents like backwashes when you let them happen, but the "accidents" happen where you want them to!
The great advantage of wet paint onto dry paper watercolor wash is that you can leave holes in your washes. So you have whites that sparkle in the middle of darks. You have under layers that peek through in dashes. This wash needs more brush control, but it makes keeping those wonderful whites so much easier in the end.
As with any watercolor wash, don't be wimpy when you're using water or paint. Remember paint always dries much lighter than when you put it on, so add more pigment than you think you need.
If the pigment doesn't look translucent, at least a little, you need to add more water. You can use gobs of pigment in watercolor, but not on a wet on dry paper wash.
I use this wash for practically everything! It also ranges from very textured with less water to smooth and flowing with more water. Practice on a scrap of paper again. Wet on dry will give you the most control, but with beautiful elements of the unexpected.
This is another wash that works with any texture of paper. It's definitely my go to wash!
Artist's Tips
Not using enough pigment and using too much water on the brush.
Going back into the wash too many times.
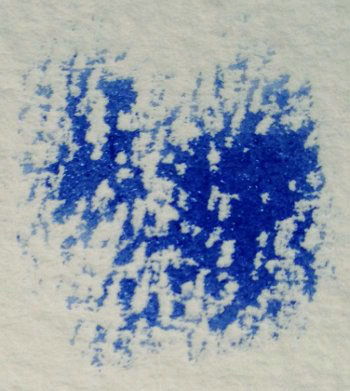
Dry Brush on Dry Paper
Use a dry brush to lightly touch the high points of the paper, leaving the low points unpainted.
A medium dry brush on to dry paper gives you lovely texture. This texturing technique is most effective on rougher paper. Rough paper gives you a hit and miss paint texture with the bumps of the paper. It should be done on dry paper for the most texture. If the paper is wet from a previous wash, the texture melts into it, blurring into the low points as well as the high points. So always wait for the previous wash to dry completely before you use it!
Dry Brush on Dry Paper
Don't bother to try dry brush on a slick, hot press paper. You have to gob the paint on to have any effect and by then it looks awful.
Always carefully dry water from the brush reservoir, not the tip where your paint is. You want to dry it partially, not bone dry. If there's absolutely no water in the brush reservoir, your paint won't flow it all. You want the paint to flow but just hit the raised parts of the paper.
Think rough tree bark or tiny leaves against a smooth sky. Tiny things are easier to detail with dry brush. like flower stamens or eyelashes. I tend to use a #1 rigger a lot of the time with drybrush for very fine texture. I tend to use natural hair brushes, like squirrel or sable, with dry brush. They help the hit and miss technique along!
Artist Tips
Don't wipe all the pigment off the brush!
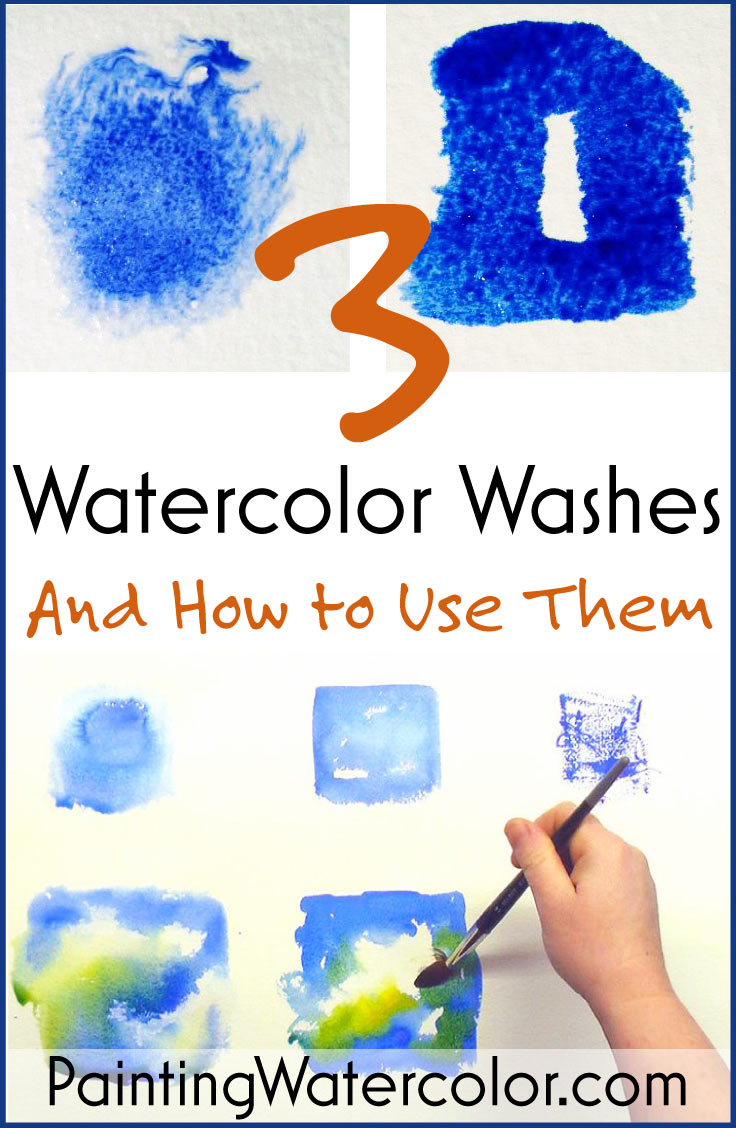
Three watercolor washes are all you need to start watercolor painting. All the other techniques are simply variations on these three washes. I hope you enjoy watching my YouTube watercolor demonstration video. It's always nice seeing painting in action! You can tell how which of the 3 washes you use will completely change the mood and everything else about your painting.
The only tricky parts to remember are use lots of water and lots of pigment for the wet brush ones. When you use a dry brush, don't dry off all your pigment! And as always, get into the watercolor paint, work fast, then get out!
Homework!
A good practice for beginners would be to paint the same sky 3 times. You need a cloud or a sunset for a little textural variation to really practice the techniques. If you limit the colors, the washes are easier to control and get used to. I would limit colors to 2 so you can really explore the washes and not worry about mud or color.