Painting Demonstration 1
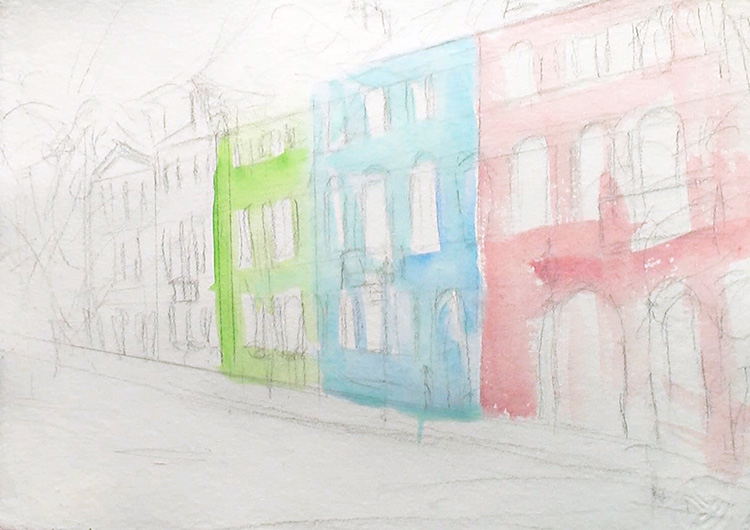
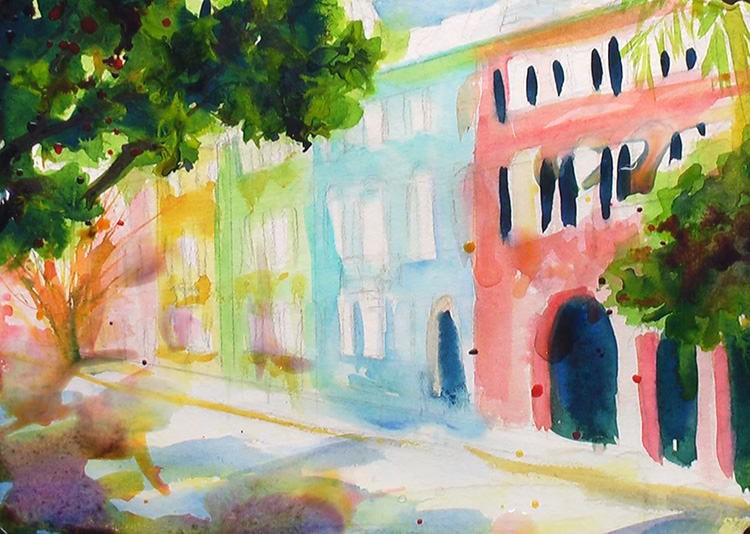
I start out with sherbet colored houses in pthalo green (with a touch of azo yellow), cobalt blue and quinacridone red. I want to leave lots of whites in this little sketch. Charleston is such a bright, sparkling colorful city and Rainbow Row is about the most colorful gem in the place!
Painting Demonstration 2
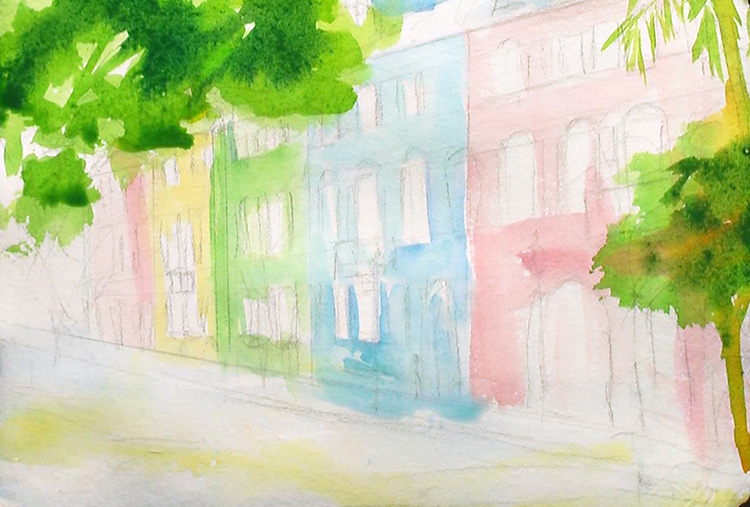
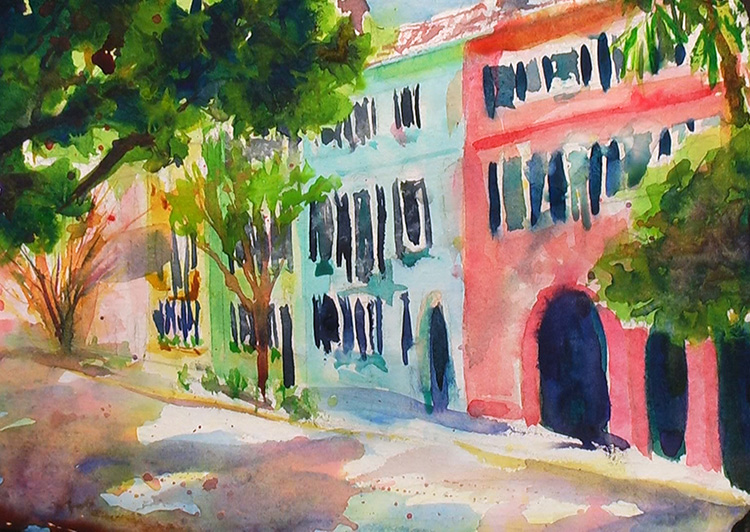
After I have the sparkling colorful buildings in, I need to put them in perspective, both in value and in space. The dark green trees help the buildings recede a bit. The dark also keeps me from painting the light houses too dark.
I subtly redefine a few of the edges and shadows on the houses with darker versions of the same pigments I used to paint them.

Painting Demonstration 3
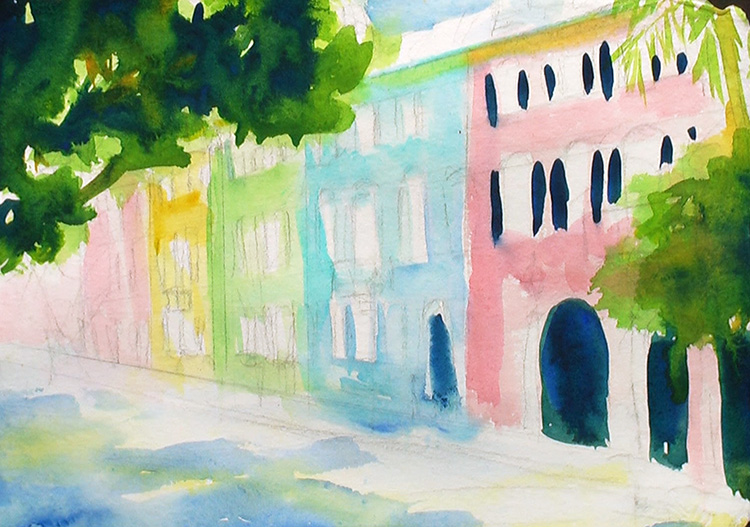
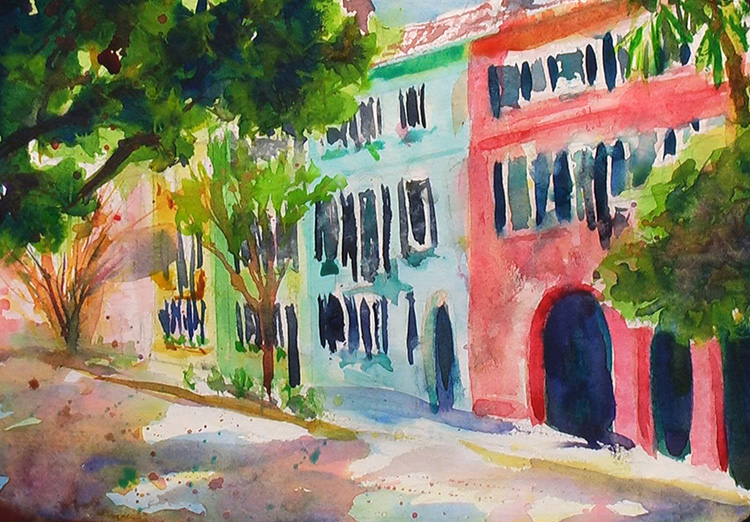
Now that I have the dark trees, I can start painting some of the dark shutters and doorways on the houses. I'm only starting in the near house since I'm not done playing with the color on the farther houses.
I start adding a bit of cobalt blue for some street shadows.
Artist Tips
When using an dip ink pen on an almost finished painting, always test it on a scrap of paper first!
Painting Demonstration 4
"Charleston has a landscape that encourages intimacy and partisanship. I have heard it said that an inoculation to the sights and smells of the Carolina lowcountry is an almost irreversible antidote to the charms of other landscapes, other alien geographies. You can be moved profoundly by other vistas, by other oceans, by soaring mountain ranges, but you can never be seduced. You can even forsake the lowcountry, renounce it for other climates, but you can never completely escape the sensuous, semitropical pull of Charleston and her marshes."
Pat ConroyNow I start having some fun with splattering! This is such a loose little sketch, that splattering some water and some reds and blues really livens it up!
I'm darkening the street a lot, but with warmer purples. Charleston is such a sunny colorful city that I don't want anything too harsh. Warm purple shadows in the street to frame the houses seems about right!
I use my rigger to dash in a tree at the far end of the street. Just a few hints of quinacridone gold and quinacridone red are all it takes!
I also paint some tree branches and twigs with my rigger.
Painting Demonstration 5
Here's where they start looking like houses! I've blocked out the houses so I can start adding the dark shutters and windows with my rigger. I love adding the details on houses, it's hard not to add them too soon.
The roof is just hatchmarks with my rigger, very simple with just a feeling of texture since the light's on it.
I paint the middle street tree, some rigger dashes with a fluff of green on top. I know the crepe myrtle is still butchered for winter in the photo, but it will have the bit of reddish green in a few weeks!
Painting Demonstration 6
Just a bit more detail in this layer. I particularly like some subtle drybrush on the stucco to roughen the texture.
The picture is how it looks right before I start with pen and ink.
Painting Demonstration 7
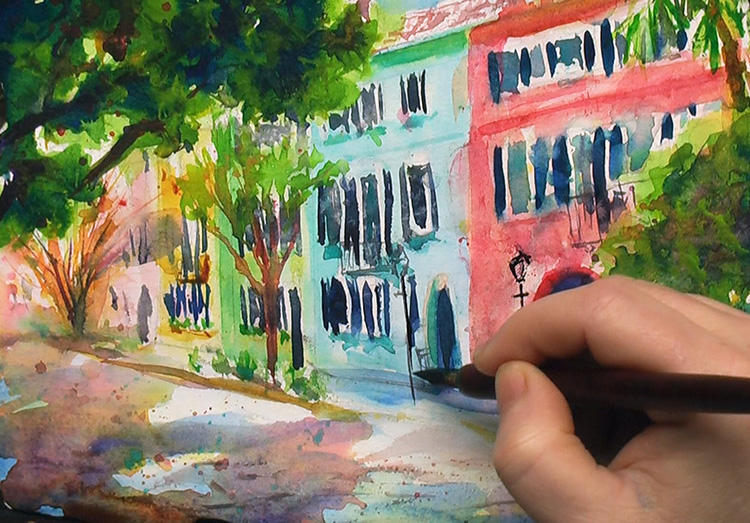
I love adding pen and ink to sketches. On location. I might use a fountain pen, but in the studio I usually go for an old fashioned dip pen. I use a classic Hunt Drawing nib. I like how it can do thin to thick strokes at the same time. I'm still having fun looking for the perfect antique nib holder at flea markets! This is just a basic art store wooden holder.
I'm using India Ink, which actually is not my first choice because of the sheen. However, I was painting fast enough to want waterproof ink. I wanted black because of the intricate ironwork instead of my usual brown ink. I need to keep a better ink selection on hand!
I use a pen the same way I use a paint brush. I keep it very loose and easy. I test my nib if I need a fine detail so it doesn't blob in the wrong place. Not the end of the world if it does, but some places would be awkward! I rarely use ink until the very end of a sketch, so I don't want to ruin it!
I'm just moving around my sketch, adding a bit of emphasis or detail where it might need it, the same way I would add finishing touches in a final painting.
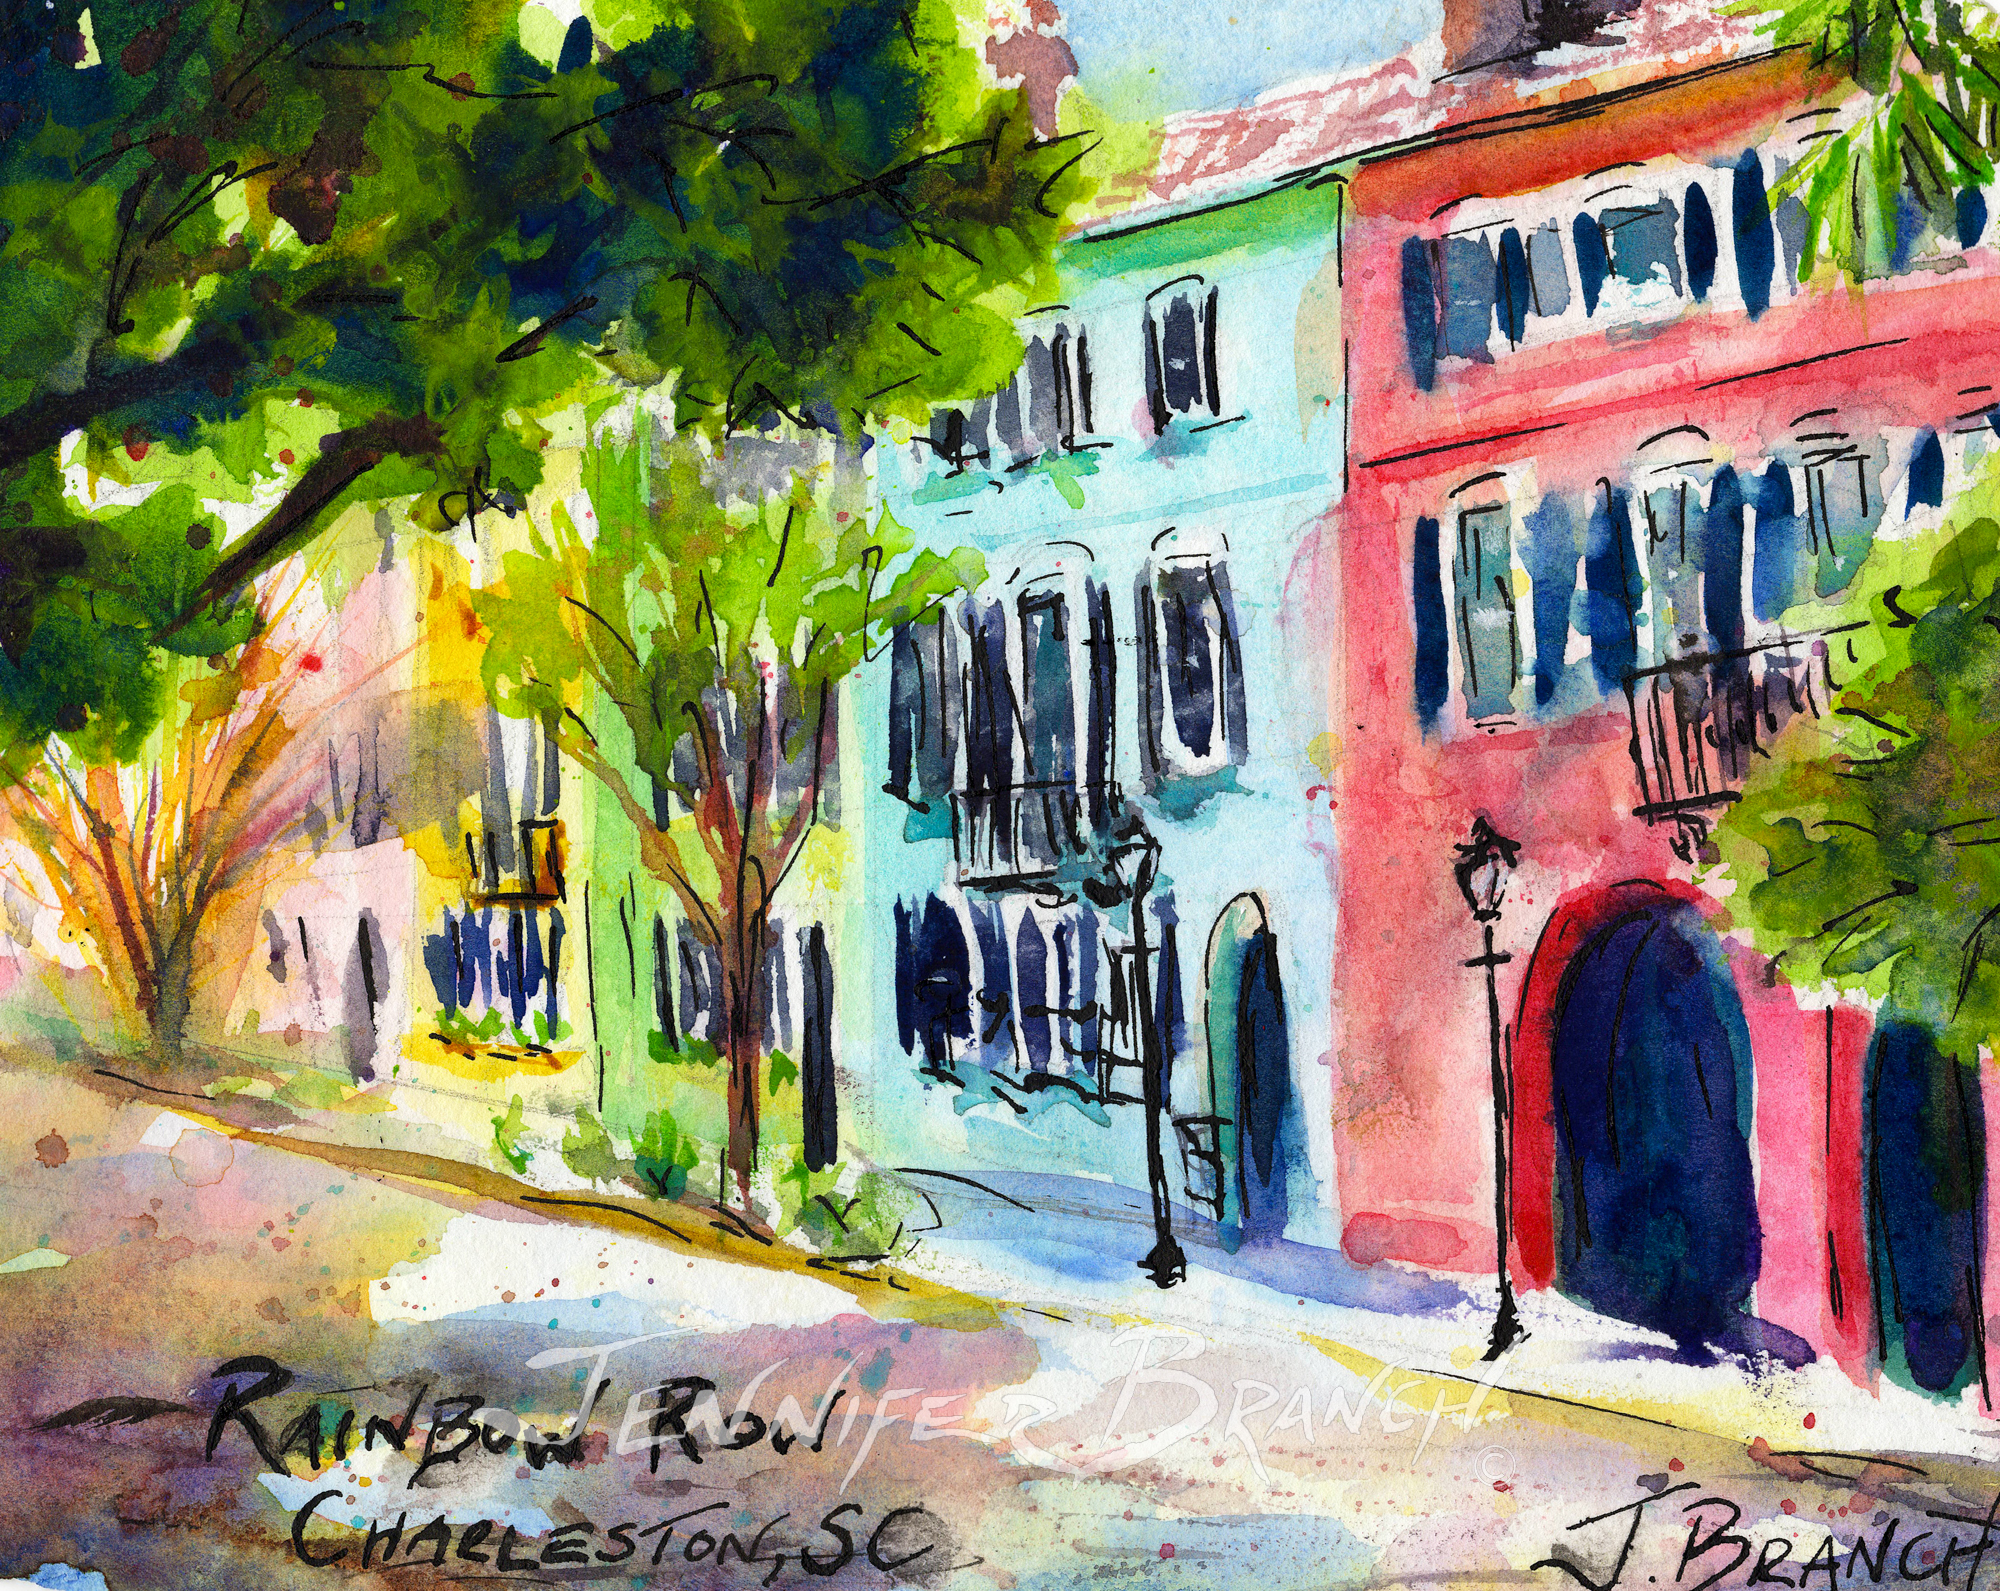
Final Watercolor Sketch!
So you see how a few lines with a pen make a huge difference! It gives the sketch a more casual feeling, not a formal painting. I've loosely defined edges and lines around the entire sketch. It's important not to simply outline everything if you want a loose sketch. Outlining silhouettes gives a very different feel, much more formal, than sketching with the contour lines you've already painted.
I've painted two little sketches of Charleston now from my trip. I'm giving them to my wonderful friends who went with me on our adventure!
Charleston is a place to walk until you can't walk another step, sit down and sketch, enjoy the best of Lowcountry food and laugh all night with your best friends. Some memories just have to be painted!

Related Art Lessons