Painting Demonstration 1
I'm very excited to show you my YouTube hummingbird painting tutorial! I hope you enjoy watching me paint this lovely little hummingbird!
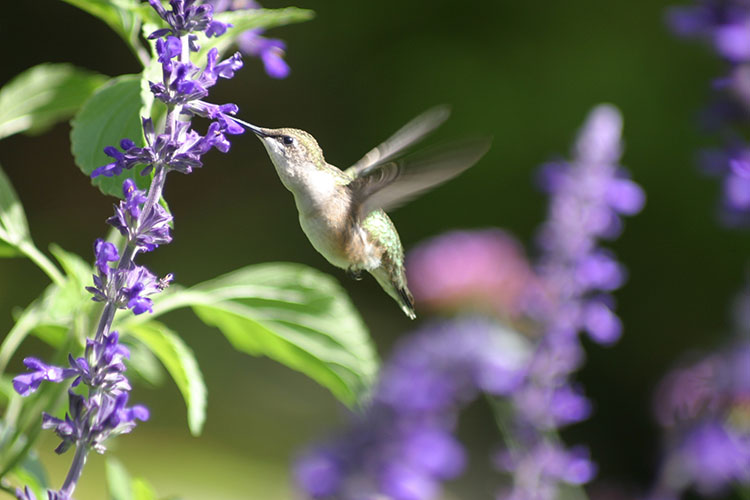
This painting is a prime example for simplifying your photo. Take the photo down to the basics in your mind and sketches before you put a brush on the paper!
This is a light colored bird against a dark background. The wings are blurred in motion but most of the bird is quite crisp. I especially love the underflow of the backlighting and reflected light on the hummingbird's belly! The salvia is sharply in focus around the beak, but I rather like the blurred background salvias. Something between the two would be ideal. Obviously I have to zoom in a little on my subject, there's too much else going on in the photo that wouldn't work for a painting. I want to leave plenty of room for dark transparent backgrounds around my hummingbird to really draw the viewer's eye.
Disclaimer: Jennifer Branch Gallery is a participant in the Amazon Services LLC Associates Program, an affiliate advertising program designed to provide a means for sites to earn advertising fees by advertising and linking to amazon.com. I receive a small rebate for your entire order (starting at 4%) if you choose to purchase through Amazon. Most items can be bought multiple places and I highly recommend local art stores if you have one! Any other recommendation links I receive no compensation for.
These referrals help me support this website, and I thank you for any purchase you make through them. I will never recommend a product I have not used frequently and believe is the best tool for the purpose!
Painting Demonstration 2
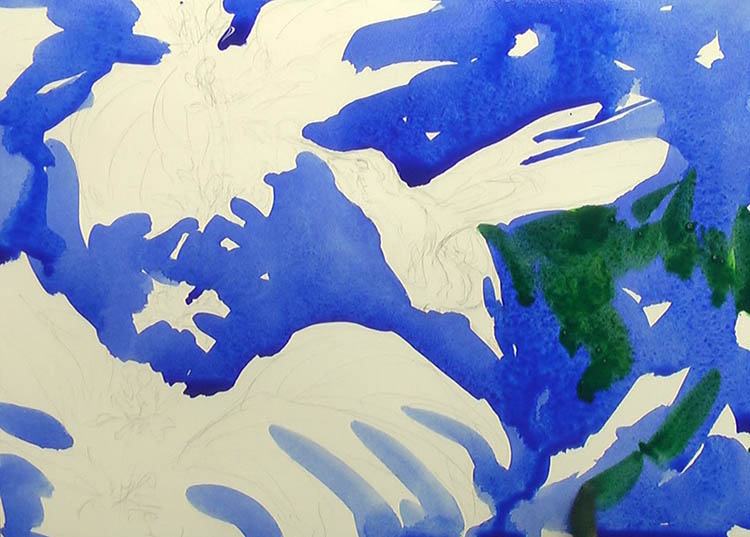
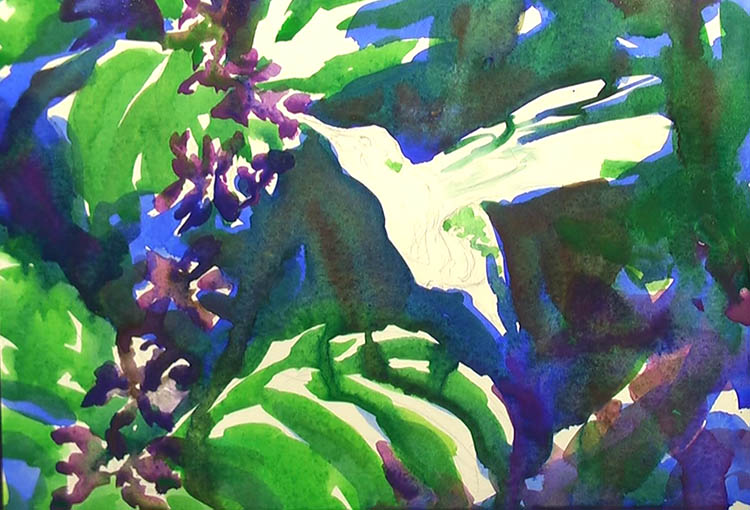
The first wash is a very quick one with lots of white space left. I dash ultramarine blue across the entire painting, leaving out the highlights on the hummingbird and the flowers. I pull a little color into the hummingbird wings where they're are in motion and tail where it's in deep shadow. I always work around the entire painting, especially in the first wash.

Painting Demonstration 3

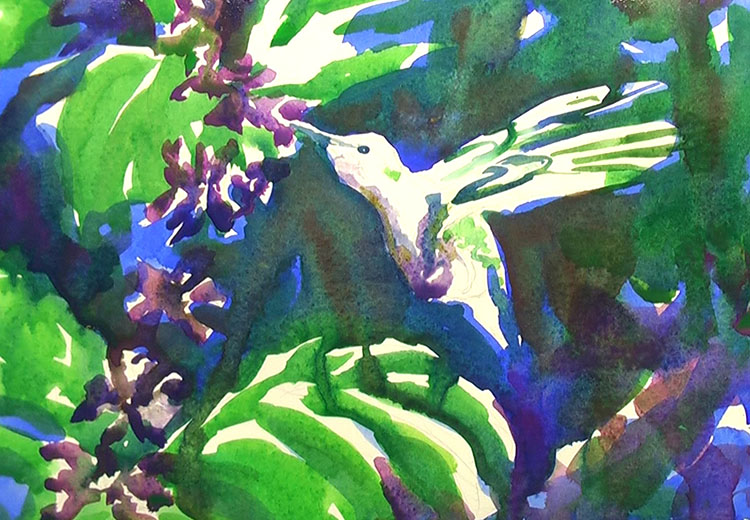
In the next wash, I add some phthalocyanine green to the mostly wet ultramarine blue wash. I want a lovely transparent mottled background before I start adding strong darks. Notice I've still left a lot of white paper.
Artist Tips
If you don't pull the background into the objects, it looks cutout, photoshopped onto the background. The real shapes are the value patterns - not the objects!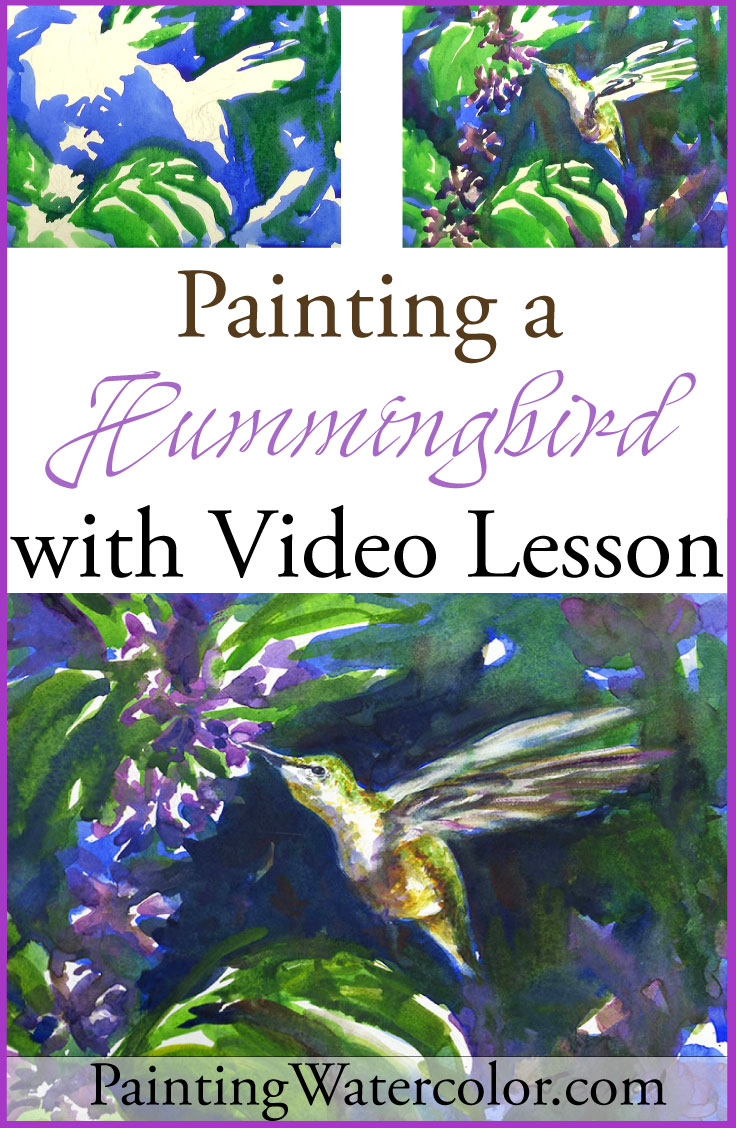
Painting Demonstration 4
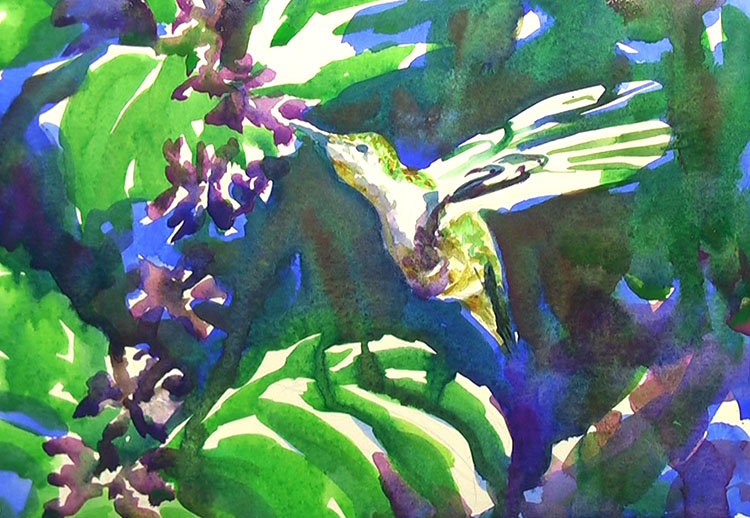
I start adding some strong darks. I enjoyed using ultramarine pink for subjects like this. It's completely transparent and delicate when subtly used, but can be a strong deep purple when it's painted with a bolder hand.
I just barely start the hummingbird in this layer. Just a touch of bright greens and a bit more in the wings. I'm still negative painting around the hummingbird to make it glow against the background.
I add a touch of burnt sienna to the ultramarine blue in the background. Burnt sienna is a strong opaque so a little goes a long way!
The salvia flowers are just painted with a few dashes. I have the option of adding more detail later - but then again that would distract from the hummingbird which is the painting's subject! Keep your center of interest the most detailed!
Painting Demonstration 5
I start pulling colors into the hummingbird from the background washes. I want my subject to be integrated with the background - especially since the wings are little blurs of wing color and background! I'm painting the wings with strong edges planning on softening the edges with a rag later. To me, that works better for moving objects than painting them wet into wet blurs. Real moving wings will have static, clear shapes as well as blurs.
Painting Demonstration 6
I'm really painting the hummingbird in this layer. I use a lot of tiny brushstrokes, little dashes with my brush shaped like the feathers of the hummingbird. I pull shadows down the wings and into the belly of the hummingbird. But all the strokes are delicate strokes to mimic the iridescent feathers. I want light to dance on the changing colors of the feathers when I'm done!
Painting Demonstration 7
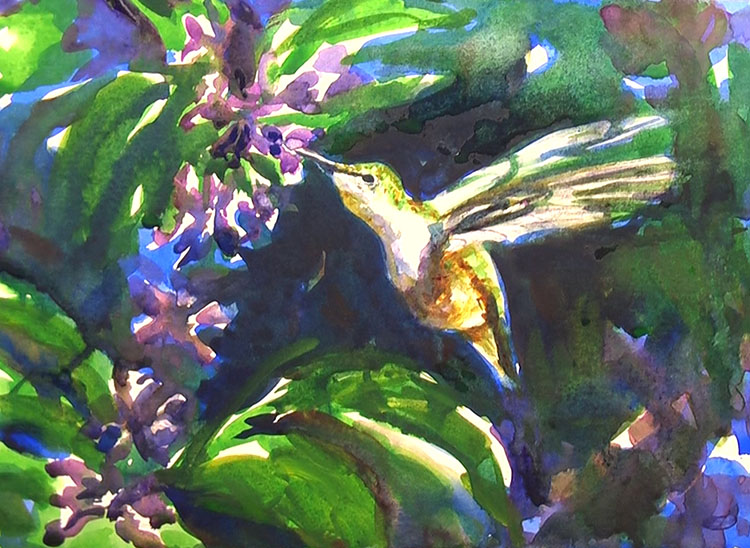
I've almost finished the hummingbird now. Quinacridone gold feathery strokes make the belly almost glow in the sunlight. I've pulled a little color off the underside of the belly and the neck to show reflecting light from the ground. Whenever you're pulling out color, remember to use a clean brush!
Next I'll pull out a bit more color off the wings and texture them slightly in dry brush, moving in the direction of the feathers.
I'm going to use an xacto knife of carefully pull out a sparkle in the bird's eye. I love having a knife for quick paintings. It makes it very easy to get sparkles, a line on a sailboat, a strand of hair. Those delicate details that are almost impossible to get any other way than jaggedly uncovering tiny bits of white paper. I always save a knife for my very last finishing touches since it obviously damages the paper. Also, please be very careful using a knife! Don't cut yourself or ruin your painting at the last stage. I highly recommend practice on spare paper and waiting for your painting to dry before using a blade on it!
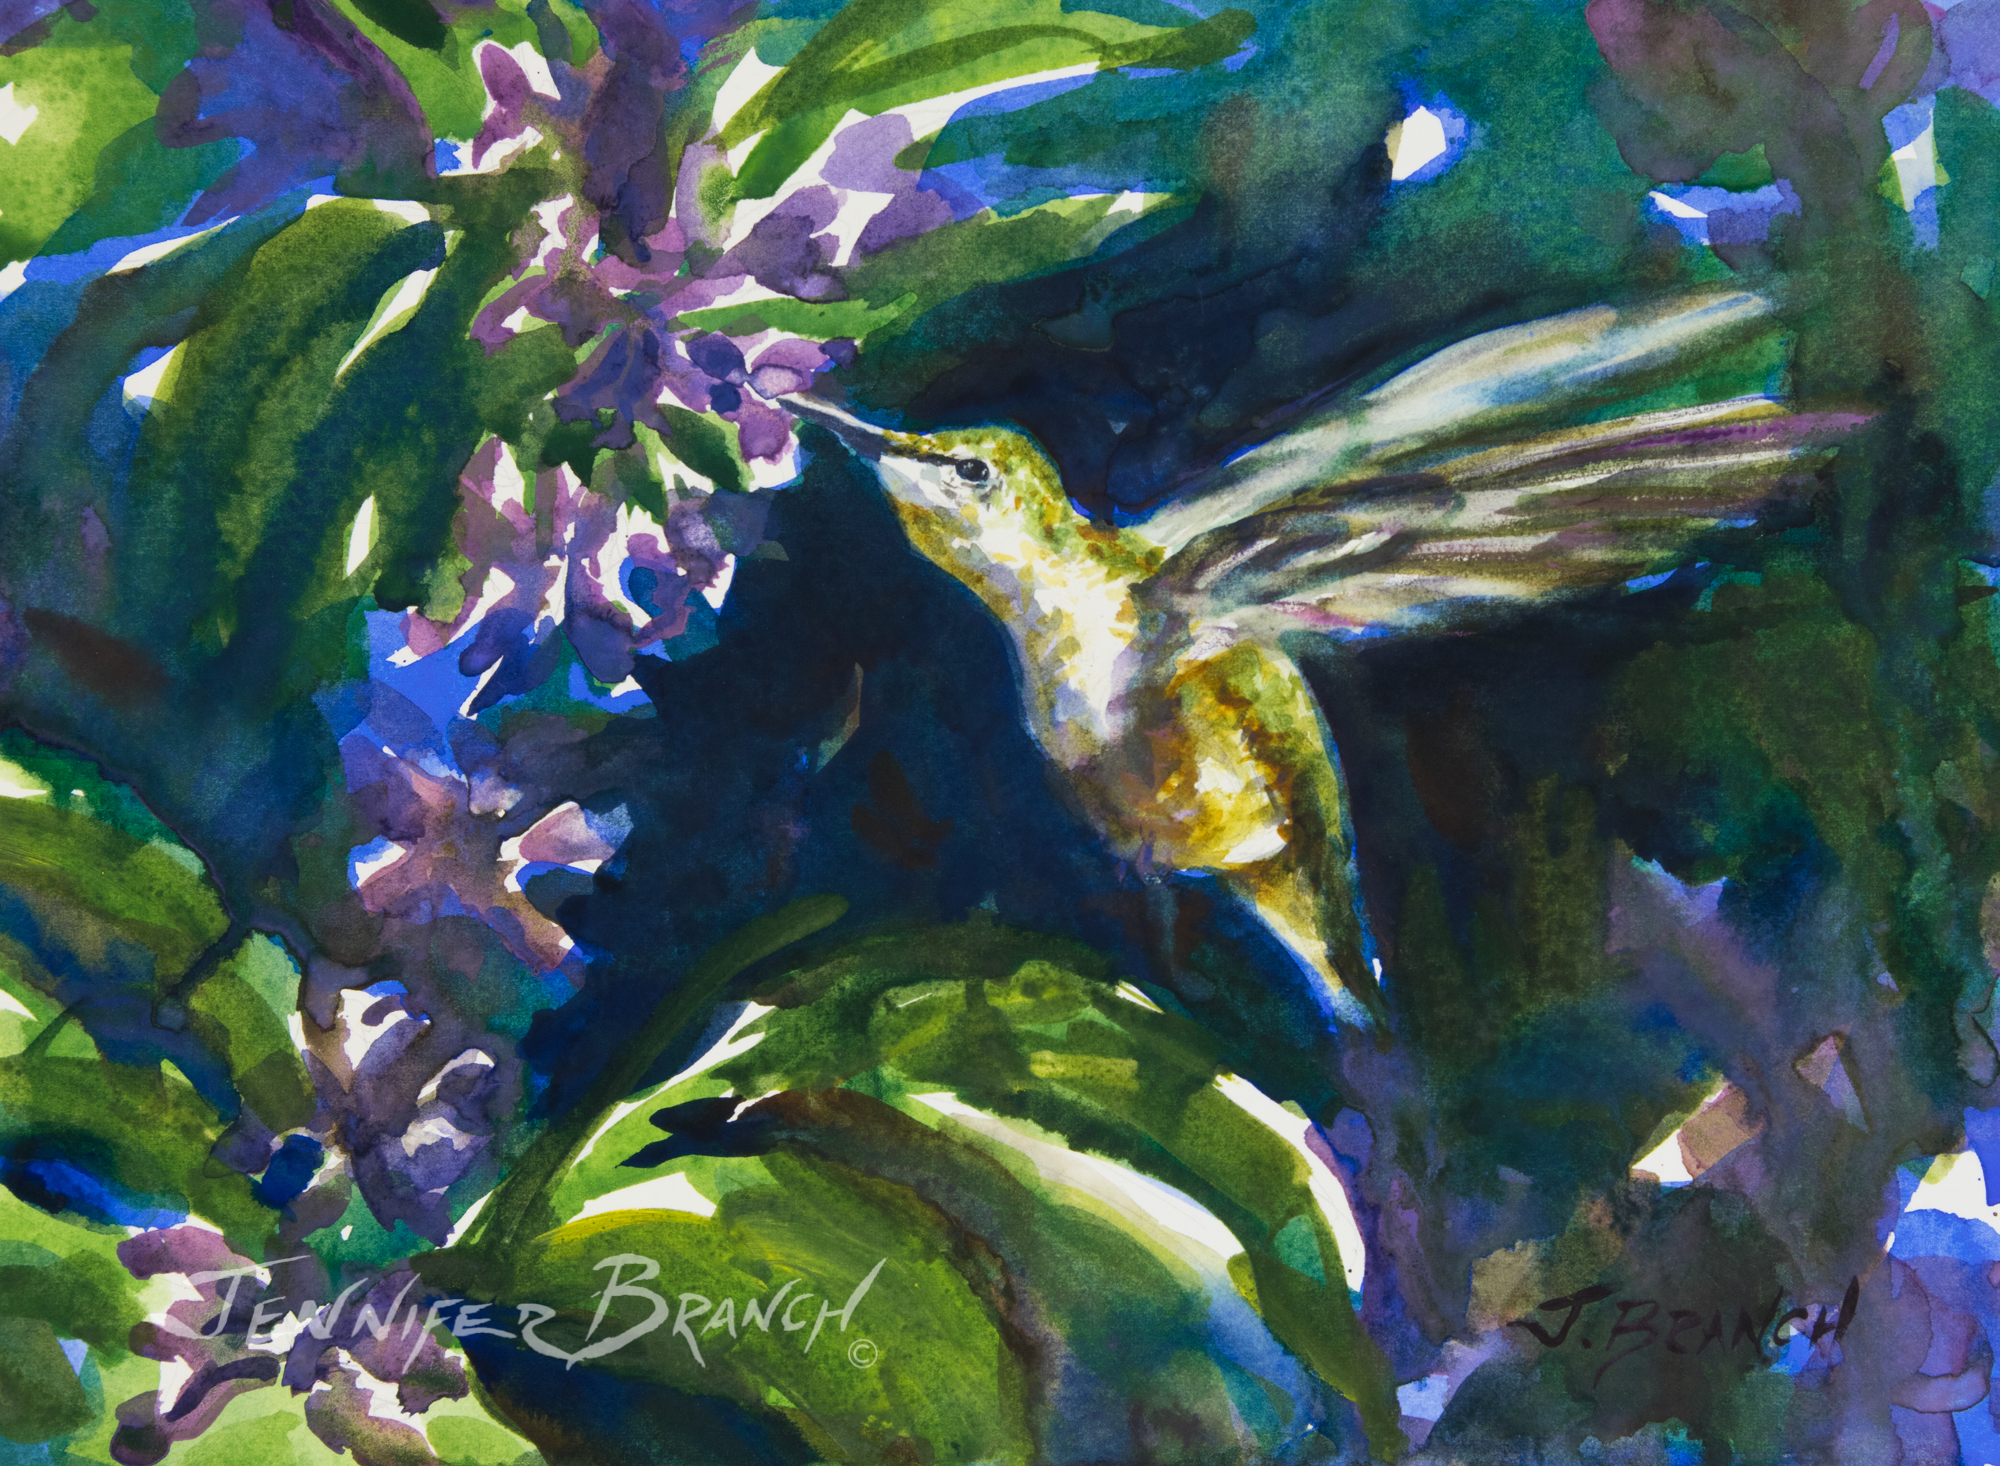
To purchase How to Paint a Hummingbird original watercolor painting, please click!
How to Paint a Hummingbird Final Watercolor Painting!
I want fellow artists to note the limited palette. The limited palette is part of what makes this painting really work since the same colors repeat across the painting. Also, with the glowing iridescence but no chalky counterpoints, this is not a painting for gouache. The whole painting would lose the glow that makes it work.
My biggest fan (aka my husband) requested that next video I edit out less and make it longer. Please let me know what you think!
I hope you have fun painting! Until next week!