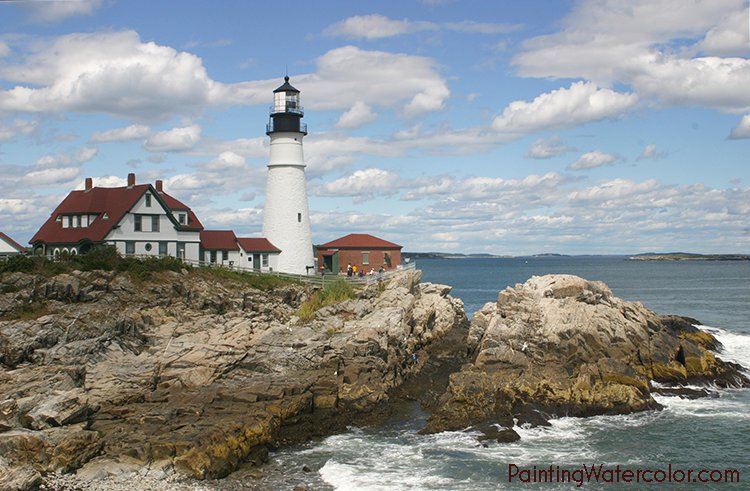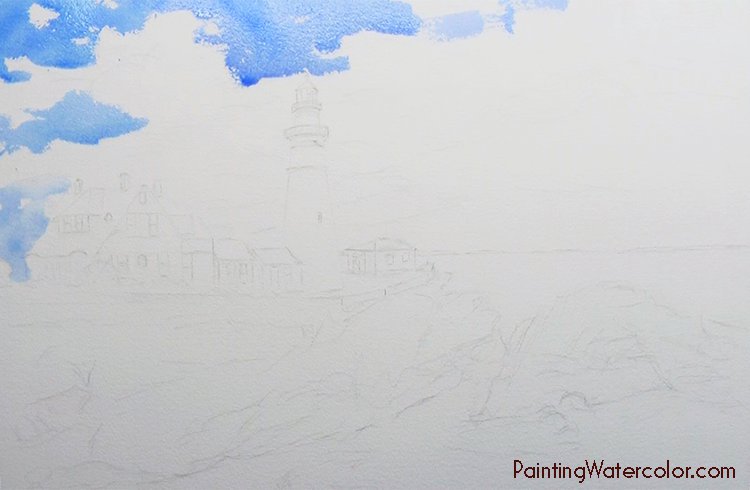
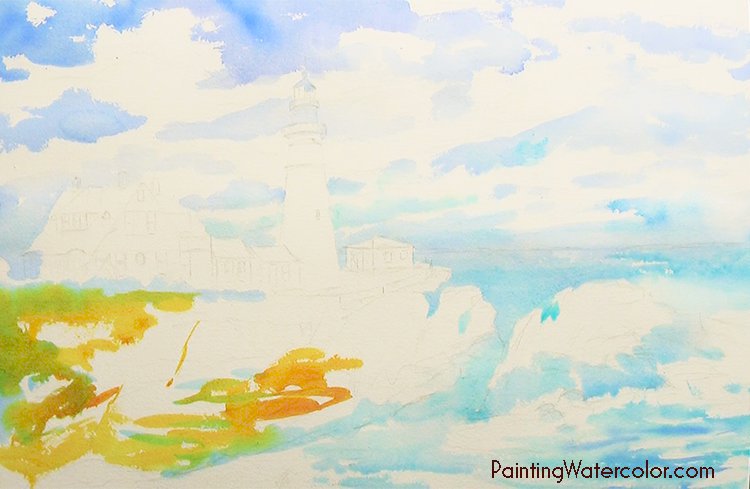
| Painting Demonstration 1 I begin with a bold wash of ultramarine blue and cobalt on the sky. It's such a gorgeous sky that stretches forever. I know I'll need several layers on it. |
 |
Painting Demonstration 2 I added a few dashes of cobalt teal in the sky then moved down into the ocean and around to the rocks. I'm keeping everything very light and loose, leaving plenty of whites. Disclaimer: Jennifer Branch Gallery is a participant in the Amazon Services LLC Associates Program, an affiliate advertising program designed to provide a means for sites to earn advertisting fees by advertising and linking to amazon.com. Most items can be bought multiple places. Any other recomendation links I receive no compensation for. I will never recommend a product I have not used frequently and believe is the best tool for the purpose! |
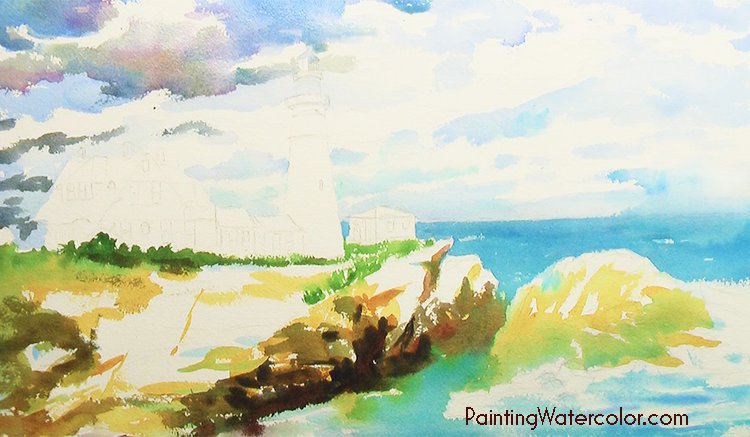
| Painting Demonstration 3 I touch the sea with pthalocyanine blue, leaving small gaps on the rought press paper. I use pthalo blue and burnt sienna for a strong dark in the deep crevice under the cliff. It's awsomely deep there where the water's rush through and I want a deep, but muted, dark. The cliff shadow isn't the center of interest!
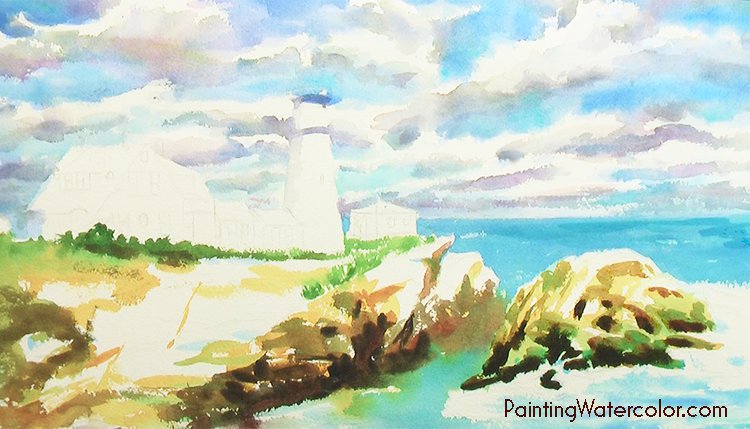
Now the really fun part! I love painting endless ocean skies! When I'm almost done with the wash I blur a few harsh edges on the clouds. Big fluffy clouds do have very defined edges, but they also have edges that disappear. A little blurring goes a long way! Artist's Tips Paint twice as dark as you think you need. It will dry lighter! |
|
Painting Demonstration 4 Notice how much lighter the sky has dried. Know what your pigments will look like when they're dry! I start working with the rocks a little more. I want strong darks all around the waterline. |
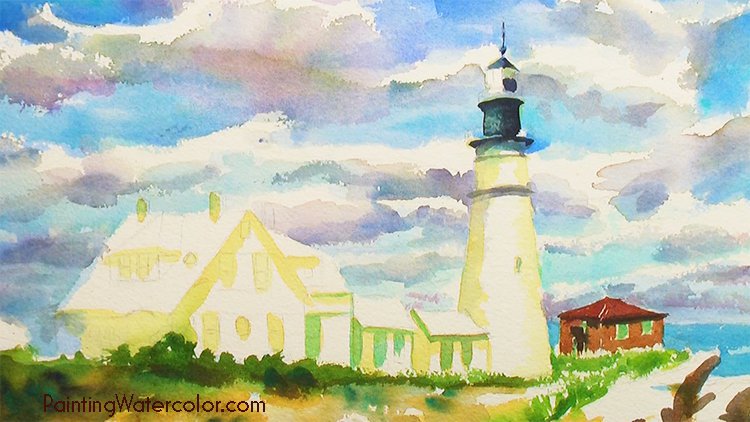 |
Painting Demonstration 5 Since I have the sky almost finished and some darks in the rocks, it's time to paint the lighthouse detail! If I had started the lighthouse detail before I'd painted the base for the rest of the painting then the values would have been off. Since the building is white, I start with a warm nickel azo yellow glow for the shadows. While that's still damp, I start defining the doors and trim with cobalt teal and nickel azo yellow. I paint the entire windows, not trying to do just the trimwork. I paint the lighthouse top with pthalo blue and burnt sienna. Notice how I pulled a little color off the black reflection with a rag. It just shows the blue sky color underneath - perfect for a reflection! I kept the white of the paper for the glass reflection. If you can't do that, just use white gouache. |
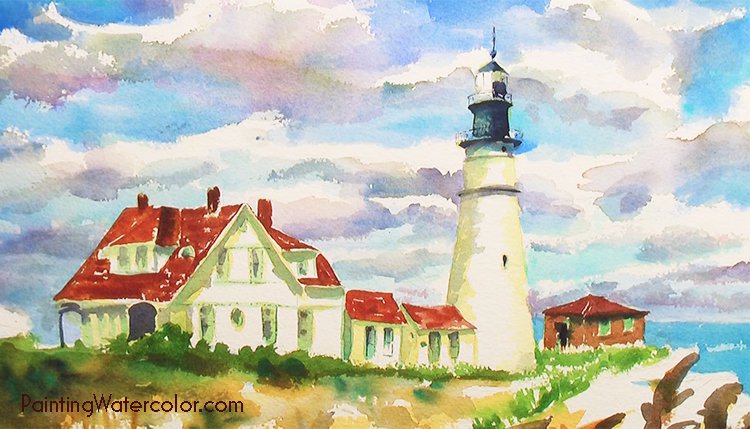
| Painting Demonstration 6 Now for a little darker trimwork and the darks of the windows. I do these with a tiny rigger brush. The bright cadmium red of the roof is tricky. It absolutely stands out against the sky. It's supposed to! But leave a few holes in it so it flows better with the rest of the painting.
|
|
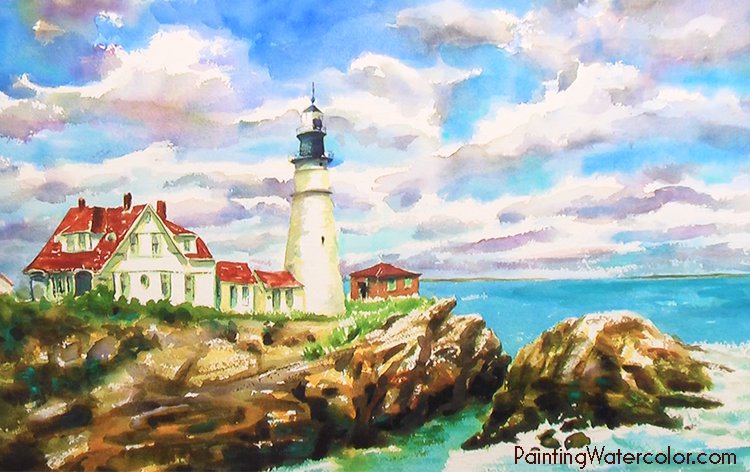
Painting Demonstration 7 I needed to darken the highlights on the rocks so they set off the lighthouse. A lot of dry brush on the rocks in multiple passes gives them a subtle texture. I use the same green and yellows as the lighthouse trim to lightly paint the far islands. This little touch gives a sense of depth to far ocean horizon. |
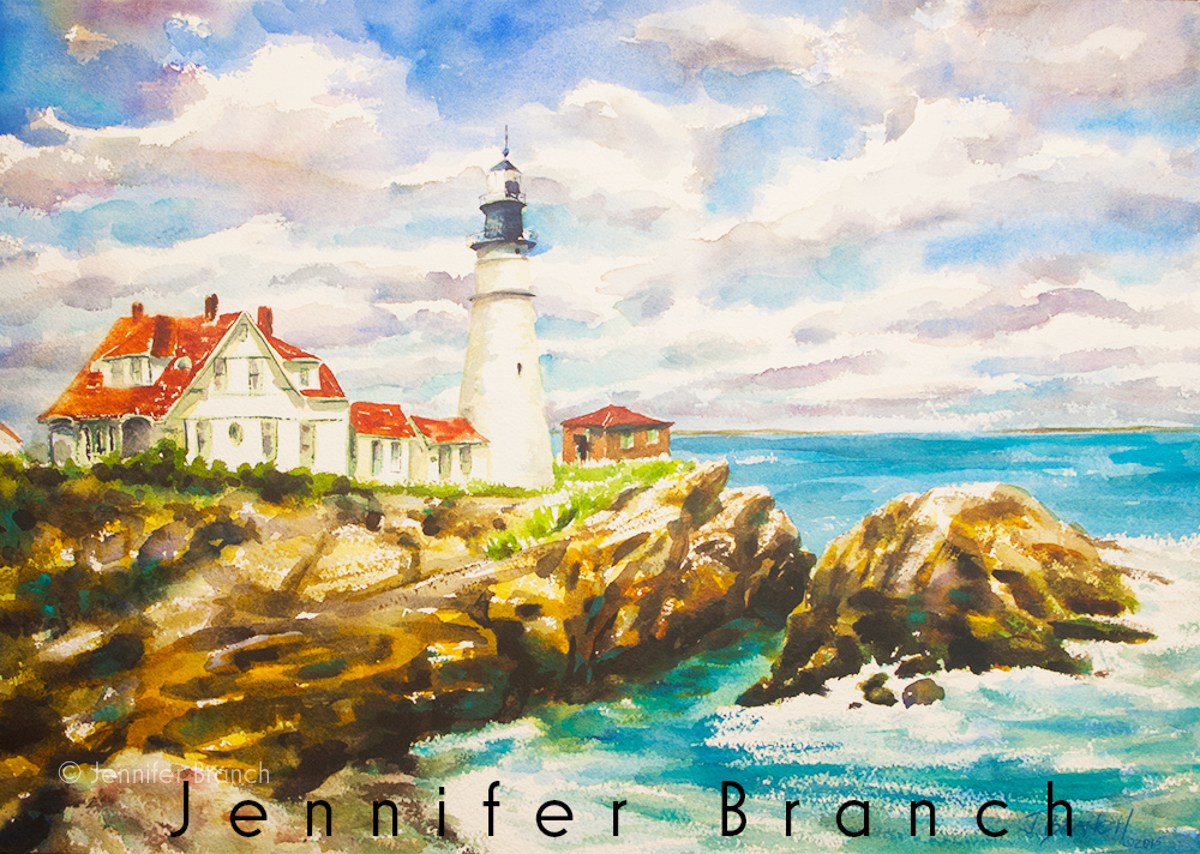
Portland Head Lighthouse Final Watercolor Painting!
I softened the left edge of the red roof a little with a wet rag. It was distracting from the actual lighthouse.
I'm happy with this classic view of Portland Head Lighthouse. My lovely mother-in-law has already claimed the painting (she loves lighthouses even more than I do) so it's even a Christmas present. Very appropriate for Christmas with green and red, I think.
I have 2 more views I want to paint of Portland Head Lighthouse - at the moment. It's such a dramatic and iconic piece of America, that I'll probably paint a lot more than that over my lifetime. I really can't wait until the boys are old enough for me to safely sketch on location there again! Sometime next year I'll paint the next view of the lighthouse for you.
My fingers really are itching to start, but I think for painting lessons, it's better to mix up the subject matter a bit. So many artists get stuck painting just one subject - or different subjects exactly the same!


